

Food
June 3, 2016
10 Tips To Master Food Photos With Your Smartphone
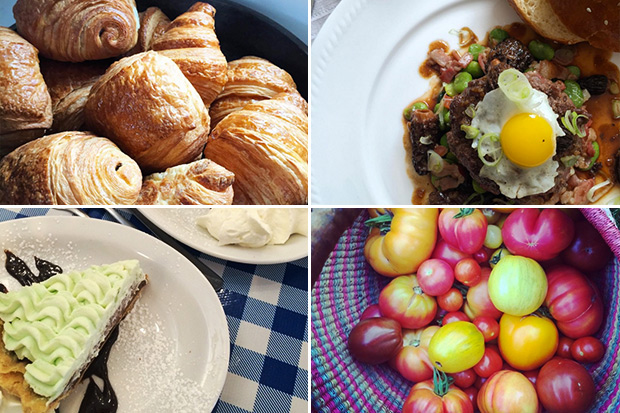
Food editor Kristen Eppich shares her expert tips.
 Social media has created a nearly irresistible lure for foodies to share their edible adventures. There’s a big difference between off-the-cuff smartphone pictures, and professional stylized editorial shots — but there are a few things you can do to bridge the gap. Here are my top 10 tips.
- Turn off the flash: The flash on your camera is one of the first things to ruin your picture. In professional photography, flashes are positioned in strategic places to light certain aspects of a shot, but on your smartphone it’s positioned right next to the lens, which highlights random elements of your picture — and not likely the parts you want it to.
- Natural light is best: Whenever possible, use natural light to take your photos. Hug up close to your kitchen window, or the window of a restaurant. If that isn’t an option, make use of ambient lighting like candlelight or lamp lighting, which will have a better affect on your picture than a harsh flash.
- Steady, steady, steady: To avoid blurry pictures from a shaky hand, rest your elbows on the table or balance yourself in such a way that you feel stable before shooting the image.
- Lock in your focus: Different cameras have different terminology, but if your camera has an AE or AF function (auto-exposure or auto-focus), use it. It allows you to touch your screen and lock in the part of the image you most want to focus on. Once this function has been enabled, the camera remembers to focus in on that area. Also, avoid zooming in, which can disable focus. Get as close to your picture as you need to.
- Use the rule of threes: In photography, odd numbers work better than even. Three fresh strawberries almost always look nicer than four, five muffins grouped together look better than six. . . you get the idea.
- Make some room: Things read differently through a lens. A stack of sticky ribs that can look amazing on a plate may end up looking like a stack of brown mystery meat. When it comes to shooting with a phone, pull items apart, create space and allow your camera to focus.
- Dark vs. light: Beautiful winter shots of dark bowls on dark wooden tables are gorgeous, but need the skills and lighting of professional photographers. For phone photography, darker items will need a lighter plate or background to create contrast. Similarly, light foods on white backgrounds can look blown out, so try to bring in some neutrals to balance the tone.
- The aerial cheat: When in doubt, take overhead shots. If you’re having difficulty getting the camera to interpret the image the way you want, an overhead shot will simplify things and reduce elongation in your photos.
- Pretty, but not perfect: It can look very cute to see a picture of a nibbled on chocolate chip cookie with some residual crumbs. That’s much different than seeing some chewed bones on a plate of mopped up demi-glaze. Use your (good) judgment on whether the shot will look interesting, or just gross.
- Edit and filter sparingly: Use editing apps and filters to enhance your photos when need be — but do your best to make sure the images remain true to the food.
Photographer: