DIY Projects
June 17, 2016
DIY: Tree Stump Print
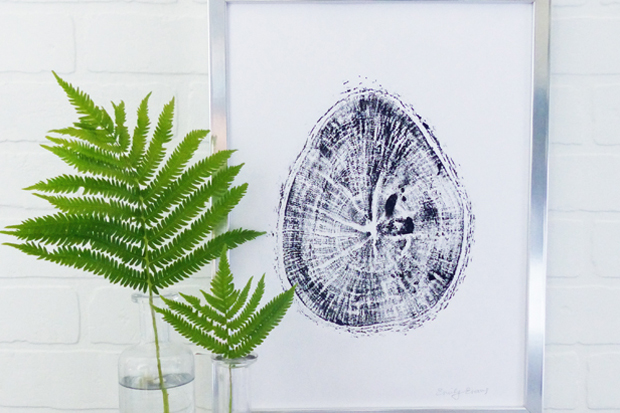
Assistant editor Emily Evans turns an abandoned log into a work of art.
If you’re like me, you never know when or where you’ll find your next DIY inspiration. Lately I’ve been seeing lots of tree stump relief prints popping up on Pinterest and Etsy. The technique isn’t new, in fact people have been doing nature printing and gyotaku — an ancient Japanese method using fish to make prints — for centuries. Here in North America, artist Bryan Nash Gill has perfected the craft, transforming tree stumps into one-of-a-kind works of art. Feeling inspired, I decided to try the technique for myself using a small log I found on a recent hike.
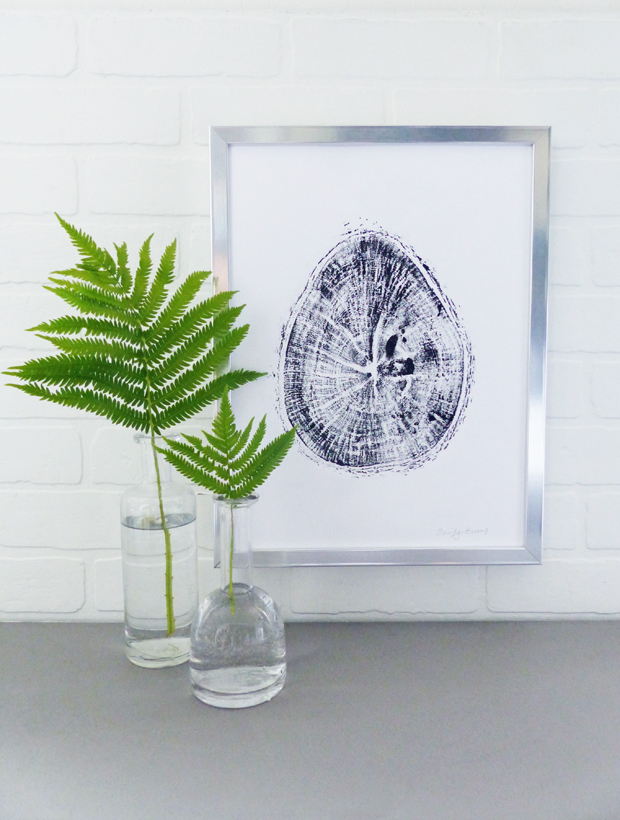
Like most Pinterest projects, this DIY was trickier than it looked, but I think the end result is well worth the extra effort! Click through to see how I did it.
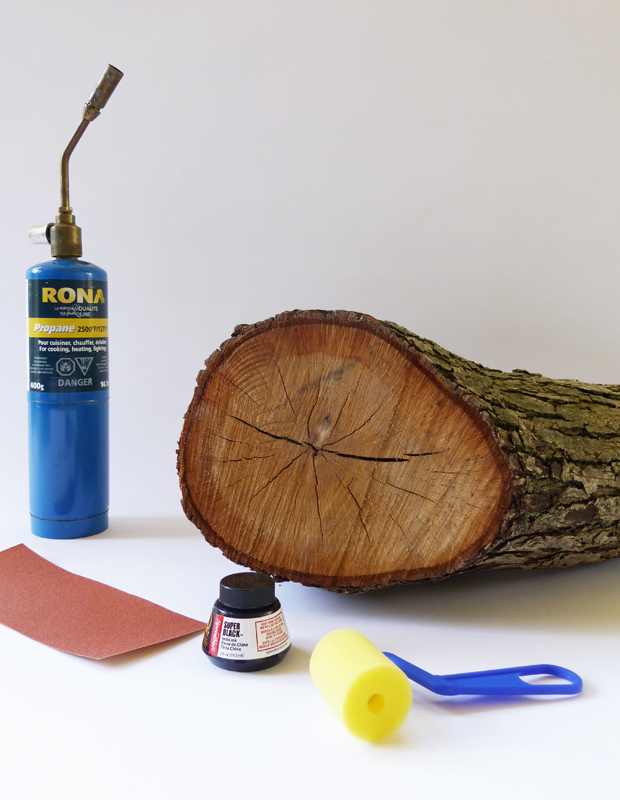
You’ll need a log or tree stump, ink (I used Speedball’s Super Black India ink), small roller, palm sander with coarse sandpaper or sandpaper and elbow grease, hand or chain saw, blowtorch, wire brush, spoon, white paper (I used regular sketching paper), picture frame.
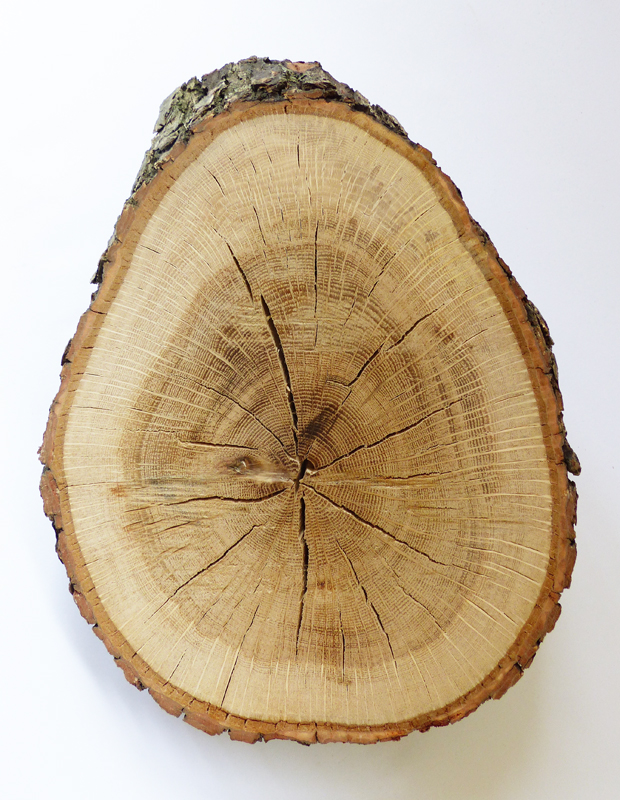
Find the right fallen log and slice it. You may get lucky and spot one on a hike, but if all else fails you can get one where they sell firewood. The more irregular the shape, the more interesting the print will be. Once you’ve got your log, cut a slice of it a few inches thick using a hand or chain saw.
Editor’s tip: Make sure the log isn’t wet. If it’s slightly damp give it time to dry out in the sun after you’ve sliced it.
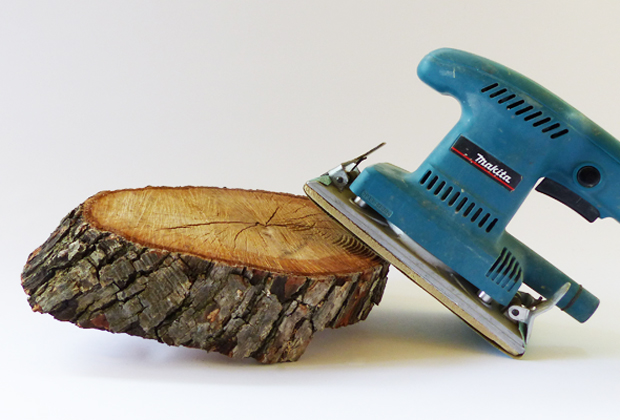
Prep the side of the log you’ll use for printing by giving it a good sanding. A palm sander with coarse sandpaper will speed this process along, but a little elbow grease works, too. Continue sanding until the surface is smooth and flat.
Editor’s tip: Avoid sanding too close to the bark. You want the bark to remain intact for the printing stage.
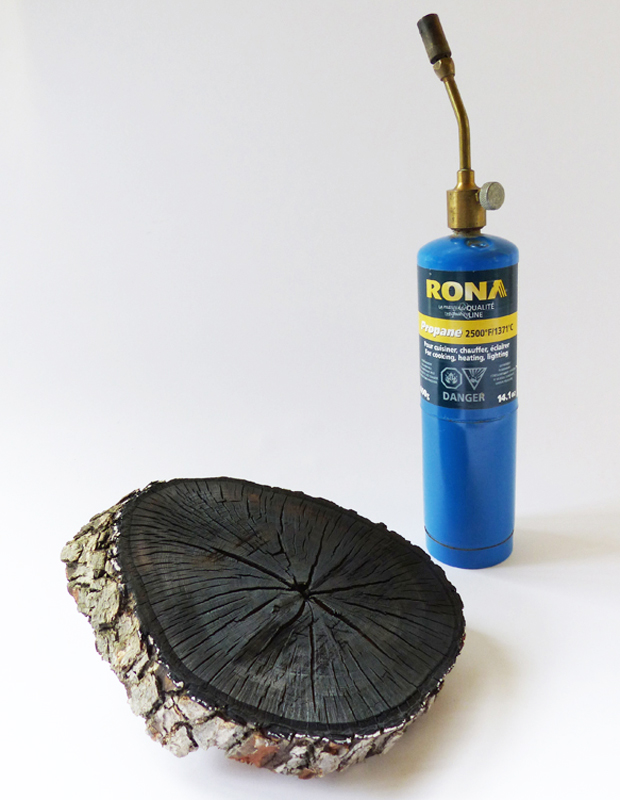
Burn the sanded surface of your log using a blowtorch. This removes the new spring growth, leaving only the older rings of the wood grain behind.
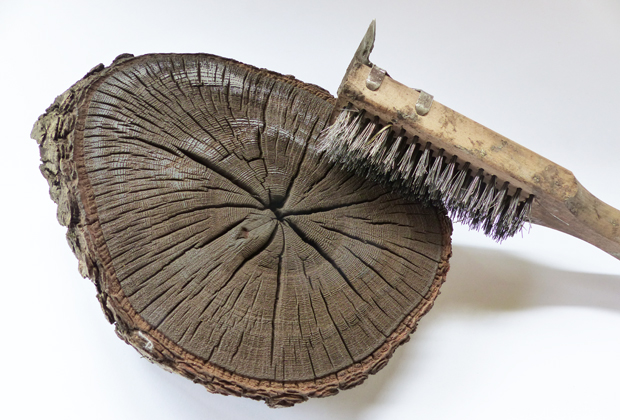
Brush off the top layer of soot using a wire brush. Once the majority of it is off, gently rub the surface with a paper towel to remove any leftover black soot.
Editor’s tip: If you’re using a colored ink (other than black) you’ll need to ensure all the black ash is off the log.
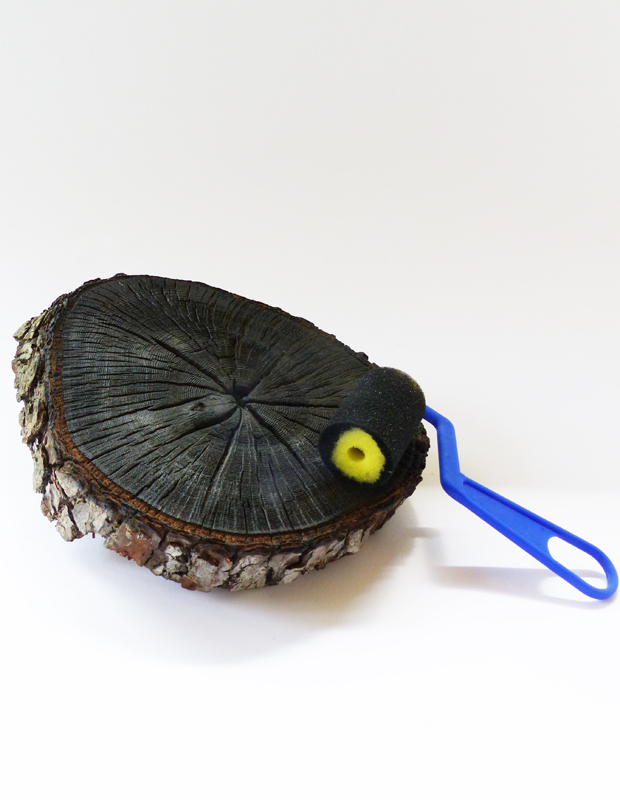
Apply ink using an ink or sponge roller (an ink roller helps conserve the amount of ink used, but a regular sponge roller does the job, too). I used black ink, but would love to try a bolder color like red or orange next time.
Editor’s tip: Once your ink is applied you’ll want to move quickly to the next step before it dries. You may have to reapply a second coat of ink in smaller sections as you do the next step if your ink is drying quickly.

Carefully place your paper (I used standard white sketching paper) onto the inked surface of your log. Using the rounded surface of a spoon apply pressure to the paper to imprint the ink from the log onto it. Slowly work your way across the entire inked surface of the log, pressing little by little until the entire log has been imprinted on your paper.
Editor’s tip: Choose a paper that has a bit of weight to it — it will give the finished print a richer look and prevent the ink from bleeding through the paper.

Leave your print to dry for an hour or so. When dry, trim your paper, leaving ample white space to really let the print shine. You may notice a couple of creases on your paper, but don’t stress — your print is meant to look handmade after all!
Editor’s tip: Look for a simple frame with clean lines, so it doesn’t steal the spotlight from your amazing work of art. Feel free to sign the bottom of your print with pencil (like a true artist) before framing it. Hang and enjoy!

