Recipe
November 1, 2016
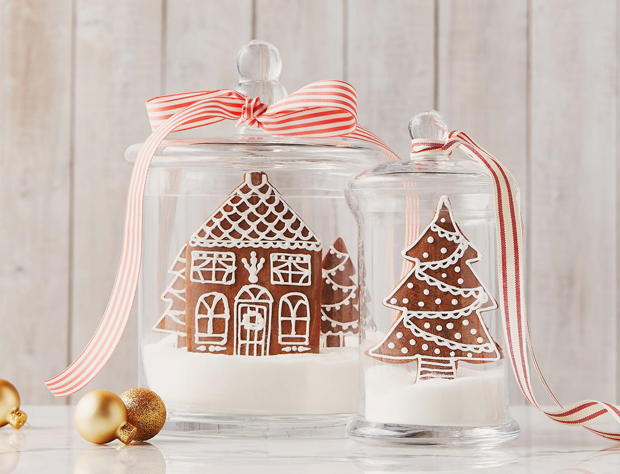
Holiday Gingerbread House Cookies With Royal Icing

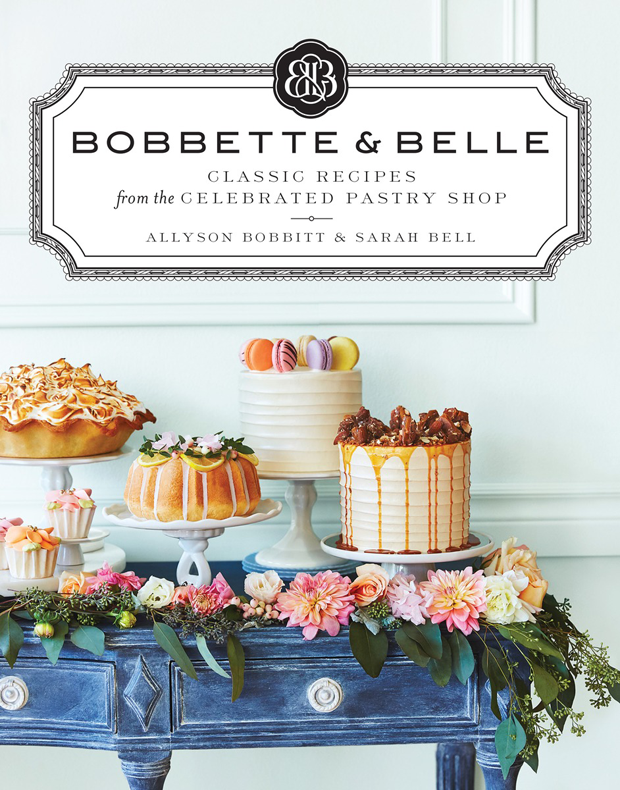
Try this recipe for Holiday Gingerbread House Cookies With Royal Icing from Bobbette & Belle’s new cookbook, which features classic recipes from the celebrated pastry shop.

We all remember making gingerbread houses as kids. It’s a common holiday ritual and an opportunity to be creative without pressure. In our homes as kids it was also our moms’ secret team-building exercise — sibling group therapy without the pricy bill. Some of that magic has been lost in recent years with the advent of gingerbread-house kits. These prefab creations are indeed a great time saver, but we hope that the tradition of home-baked gingerbread will continue. This dough is easy to make and work with, and it is also delicious. After all, the best part of a homemade gingerbread house is getting to rip it apart and eat it the day after Christmas.
Directions
Yield: About 10 cookies
Cookies
- In a medium bowl, whisk together the flour, baking powder, baking soda, salt, ginger, cinnamon and cloves until well blended.
- In the bowl of a stand mixer fitted with the paddle attachment, beat the butter, brown sugar and egg on medium speed until light and fluffy, about 3 minutes. Add the molasses and vanilla and beat until well blended, stopping to scrape down the sides of the bowl midway.
- With the mixer on low speed, slowly add the flour mixture, mixing until a dough forms. Turn the dough out onto a piece of plastic wrap. Flatten the dough into a disc, fully wrap in the plastic and chill for at least 2 hours or up to 8 hours.
- Put oven racks in the upper and lower thirds of the oven and preheat the oven to 350°F. Line 2 baking sheets with parchment paper.
- On a lightly floured work surface, roll out the dough to 1/4-inch thickness, using additional flour to dust your work surface and rolling pin as needed. Cut out house shapes, each roughly 3 1/2 × 5 inches, and arrange on the lined baking sheets, leaving a space between each cookie. Gather the scraps, reroll and cut out more houses until all the dough is used. You should have at least 10 cookies.
- Bake for 15 to 20 minutes or until the cookies are firm to the touch. For even baking, rotate the sheets front to back and top to bottom halfway through. Allow the cookies to cool slightly on the baking sheets before transferring them to a wire rack to cool completely. The cookies can be stored in an airtight container for up to 1 month.
- Glaze or decorate the cookies with royal icing.
Royal Icing
- Sift the icing sugar into the bowl of a stand mixer.
- Place the bowl on the mixer and fit it with the paddle attachment. With the mixer on low speed, add 2 of the egg whites. Increase the speed to medium-low and mix until combined. Add the remaining 2 egg whites and mix on medium speed for 10 minutes, stopping to scrape down the sides of the bowl at least once.
- Cover the bowl with plastic wrap or transfer to an airtight container. The royal icing will keep in the fridge for up to 2 days. Before using, bring to room temperature and then beat.
To make the royal icing a suitable consistency for dipping sugar cookies, water has to be added:
- In order to dip the tops of the cookies and achieve a smooth surface, water has to be added to the Royal Icing to create a “flood” consistency. Add water 1 teaspoon at a time, stirring after each addition until well combined. The royal icing will have reached the flood stage when, if you lift some with a spoon and drizzle it back into the bowl, it smooths out in 8 to 10 seconds. You want the icing to be thin enough that it will even out once dipped, but thick enough that it will hold its shape and not run off the sides of the cookie as it dries.
- Hold a cookie upside down and dip the top, but not the sides, in the icing. Pull it out and hold it over the bowl, still upside down, for about 5 sections so that any excess can drip off. Turn the cookie upright and place it on a wire rack or clean baking sheet to dry. Repeat with the remaining cookies. Set them aside for a full 24 hours to dry. If it is not very humid, it may only take 12 hours. Royal icing dries to a very hard consistency, so it is easy to tell when they are ready. The decorated cookies can be stored in an airtight container for up to 1 month.
Valerie Wilcox
Bobbette & Belle: Classic Recipes from the Celebrate Pastry Shop by Allyson Bobbitt & Sarah Bell. Copyright © Bobbette & Belle Inc., 2016. Food photography by Ryan Szulc. Published by Penguin, an imprint of Penguin Canada Books Inc., a division of Penguin Random House Canada Limited. All rights reserved.
Bobbette & Belle

