Decorating & Design
DIY: Festive Paper Garland
Published on November 27, 2015

Designer Sarah Hartill shares step-by-step instructions on how to create a festive paper garland.
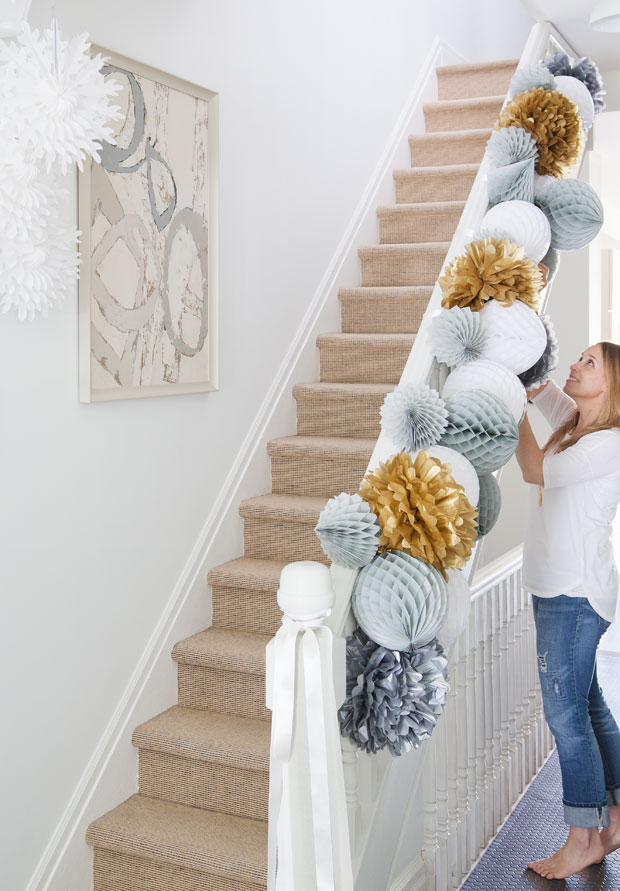
 Set the tone for your holiday soiree with a standout paper garland strung on the stairs. It’s fun, festive and, most importantly, dead easy. Here’s how to do it:

Materials
You’ll need 3-D paper shapes, fishing line, ribbon, and crepe paper.
Step 1: Pick Out Paper Shapes
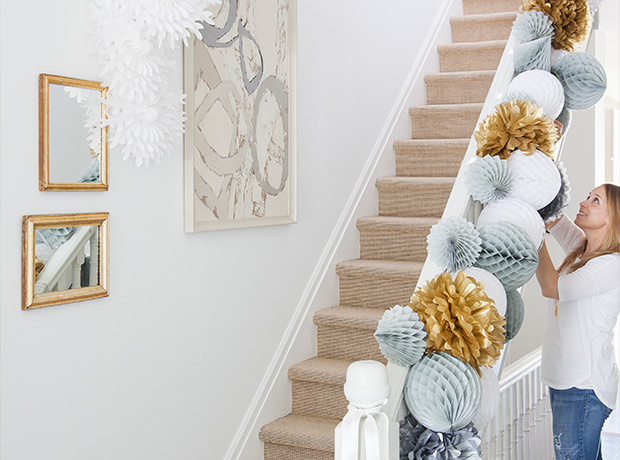
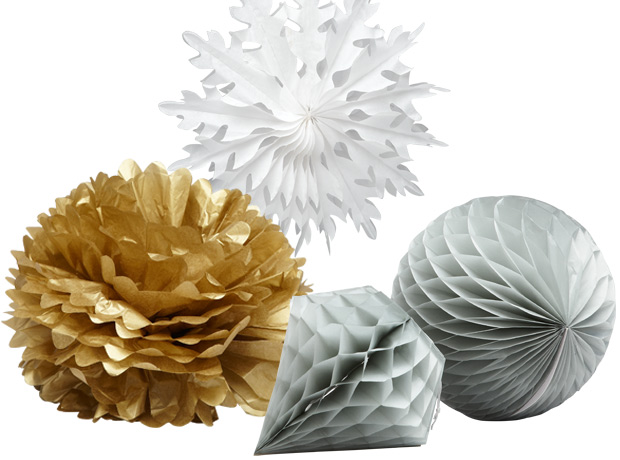
Select four or five 3-D paper shapes in three or four colors. We used grey diamonds and globes, white globes and snowflakes, and gold and silver pompoms. The metallic tones add subtle shine (and could work as both Christmas and New Year’s decorations).
Tip: Mix geometric shapes with softer pompoms for a full, varied look.

Step 2: Form Shapes And Tie To Banister
Take the paper shapes out of their packaging and unfold into 3-D forms. Attach each one to the outside of the banister with fishing line, which will disappear against the railing, placing larger shapes toward the treads. If you like, hang a second garland or just a few shapes over the stairs or on the wall opposite the banister to accent an architectural detail. Our snowflakes were too bulky to tie to the railing, so we hung them from the ceiling to soften a corner.
Step 3: Add Ribbon
Wind lengths of ribbon and crepe paper around the banister and newel post to cover any visible fishing line and add flowy texture. We used white satin ribbon and grey crepe paper that matched the railing and spindles for a hint of sheen, but you could use a brighter ribbon for a hit of color.
Ashley Capp and Valerie Wilcox
Diamond and globe decorations, Target; snowflake and pompom decorations, The Paper Place
House & Home December 2014

