Decorating & Design
April 14, 2020
5 Kid-Friendly Crafts You’ll Actually Want To Keep!
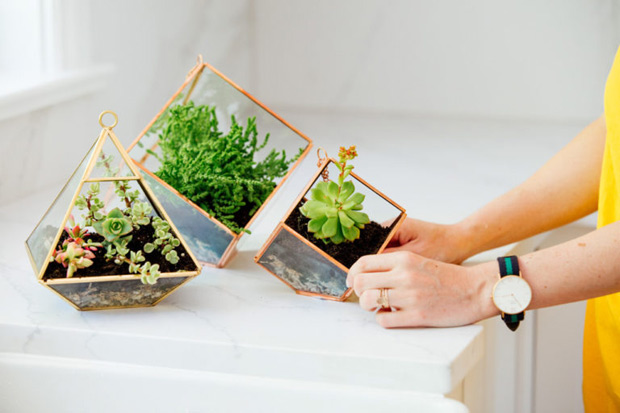
As kitchen tables turn into school desks and parents take on the role of teacher, we’re all getting creative with our kids. But instead of filling your home with art projects that only cause more clutter, opt for DIY crafts that actually look good, too. We asked some of our favorite Canadian content creators to share some unique projects that are fun for kids and parents alike. Click through for step-by-step instructions for your next art class!
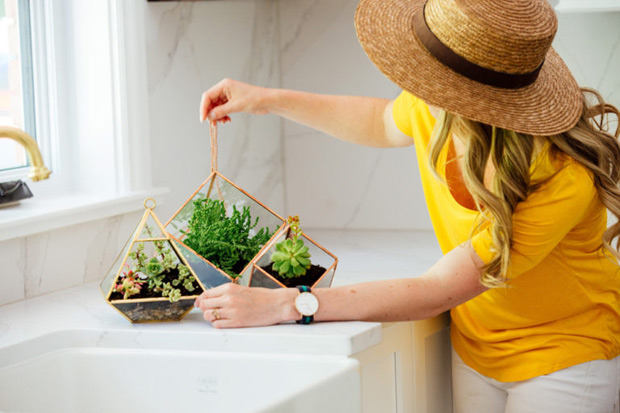
DIY Terrarium
Terrariums have become all the rage on social media lately because they’re extremely easy to make, while also being a handsome addition to the home. Roxanne West’s DIY terrarium project is the perfect craft to give your little ones a crack at gardening right from the comfort of your home.
What you’ll need:
- Terrarium or a vase with pretty opening
- Small rocks
- Moss
- Soil
- Small succulents

Step 1: Clean the terrarium or jar
Step 2: Layer the bottom of your terrarium with small rocks. Level out.
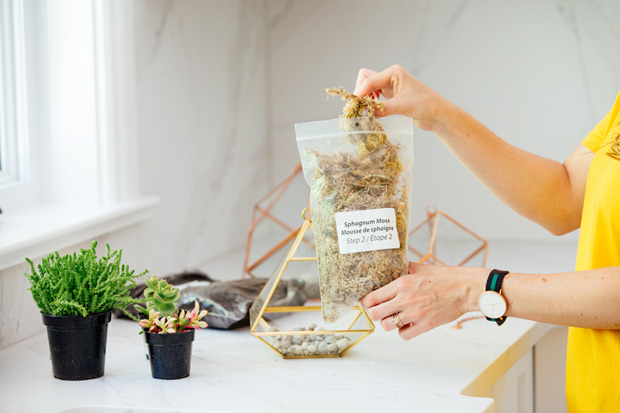
Step 3: Place moss over the rocks for texture.
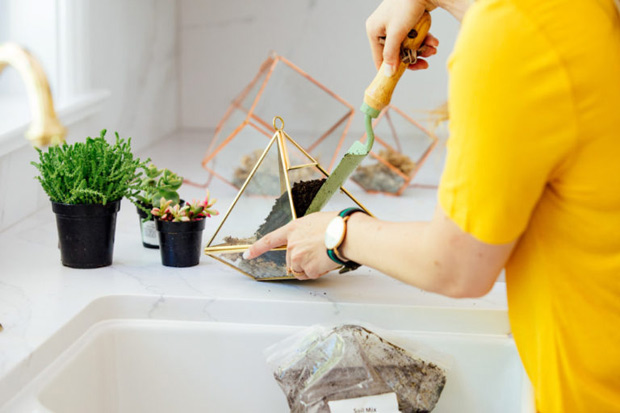
Step 4: Complete the layering with soil.

Step 5: Plant your succulents and (optional) florals.
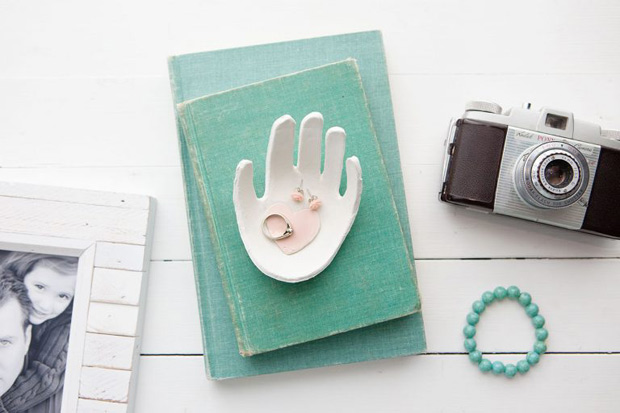
Handprint Clay Jewelry Dish
Mother’s Day is just around the corner, and you can be sure your kids will want to give the special woman in their life something meaningful. Rebecca Cooper’s handprint clay jewelry dish is the perfect project to document your little one’s growing hand. Bonus: it can can be mailed to grandma, too!
What you’ll need:
- Crayola air dry clay
- Crayola washable paint
- Paintbrush
- Heart-shaped cookie cutter
- Rolling pin
- Parchment paper
- Pencil
- Small bowl of water
- Small glass bowl
- X-acto knife
- Cutting mat
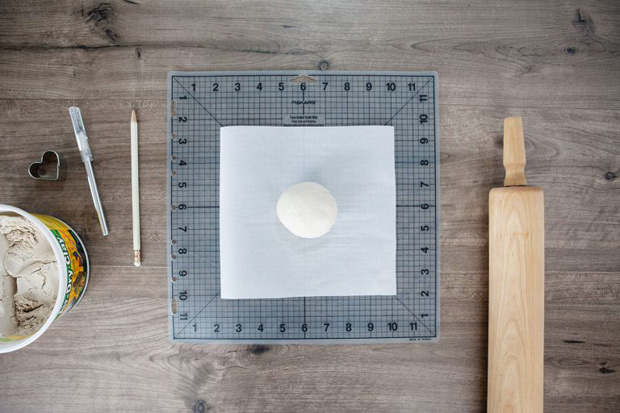
Step 1: Roll out a small ball of clay between two layers of parchment paper. Roll until about 1/4″ to 1/8″ thick and large enough in diameter to accommodate the size of your child’s hand. (Note: the thicker your clay is the longer it will take to dry, but the more durable the finished jewelry dish will be.)
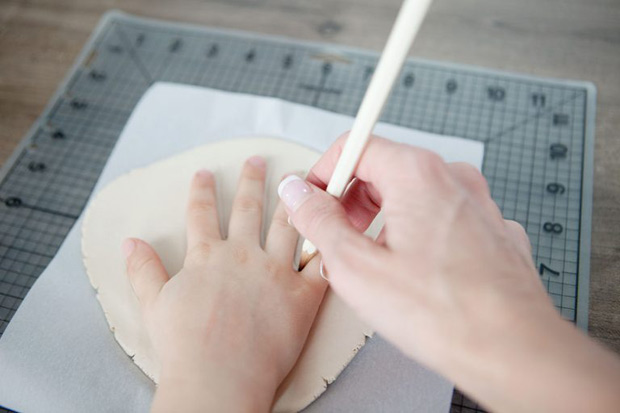
Step 2: Place your child’s hand on the clay and lightly trace around each finger with a pencil. Remove child’s hand and cut out the handprint with an x-acto knife. Remove excess clay. Smooth out any rough edges or imperfections in the clay by using a small amount of water. Dip your finger in the water; gently rub and smooth the clay. Repeat until the handprint is as smooth as desired. Use a q-tip for any spots you can’t get to with your finger.
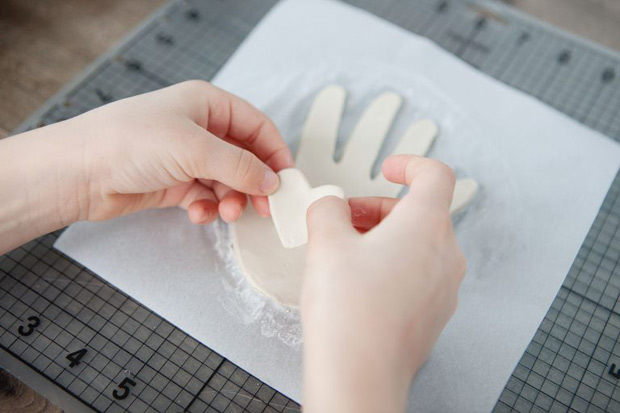
Step 3: Roll out another small portion of clay to 1/4″ thick. Cut out a tiny heart from the clay using a cookie cutter. Rub the back of the heart with a small amount of water to help it adhere, then place in the center of the handprint. Smooth out the heart with a small amount of water as you did with the rest of the hand.
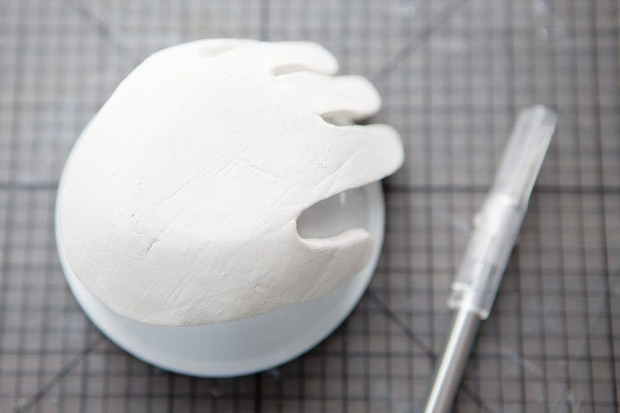
Step 4: Now we’re going to mold the handprint into a dish by placing a small bowl upside down and gently laying the hand over the bottom of the bowl as pictured. You can gently mold the fingers to any position you’d like them to dry in. Take some parchment paper and place over the handprint, gently press down with a book to create a level area that will ensure the dish is sturdy and lays flat when finished.
Step 5: The next step is to allow the handprint to dry completely. Drying time will vary depending on thickness of the clay and climate. It typically take 24 to 48 hours to dry. Once the dish is completely dry remove it gently from the bowl. You can leave the dish as is or choose to paint the heart a favorite color with Crayola washable paint like we did.
Magic Mystery Painting
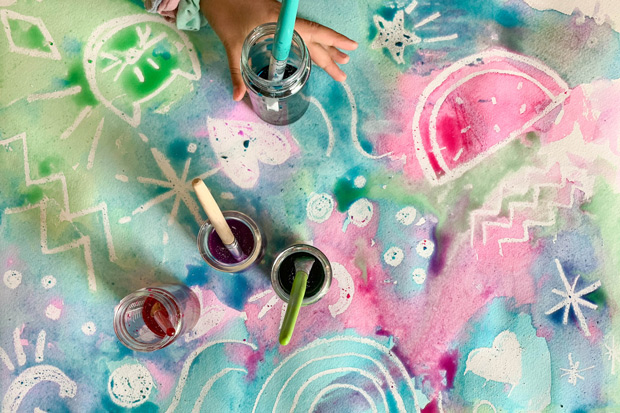
Bring a little magic and wonder to your next arts and crafts session with Jen Kossowan’s magic mystery painting. Draw your photos ahead of time, and then let your children marvel at their work as they uncover the mystery photos!
What you’ll need:
- White oil pastel
- Watercolor paper
- Watercolor paints
- Paintbrushes
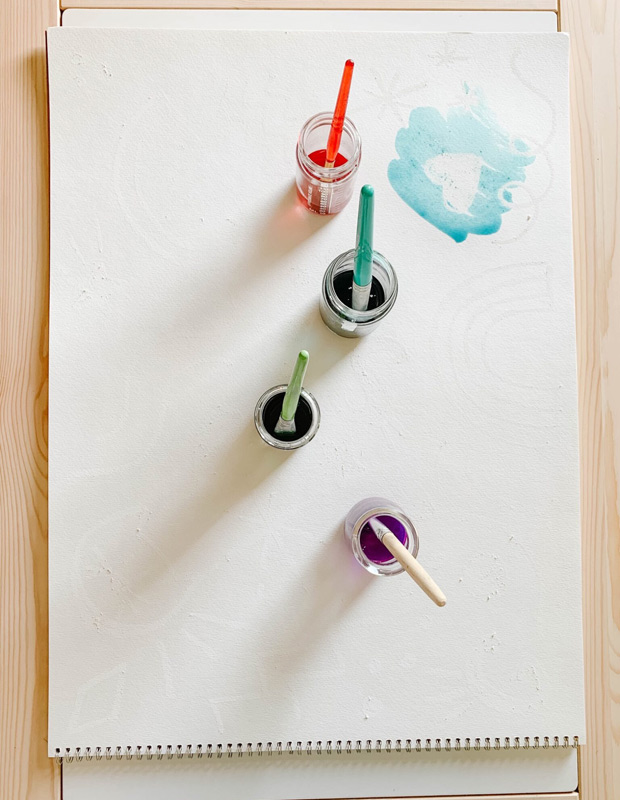
Step 1: Use the white pastel to draw simple pictures, lines and designs all over your watercolor paper. Two things to keep in mind. Solid, thick pastel lines make for the best end result, so be sure to use lots of pressure when drawing, and your kiddos don’t care what your drawings look like whatsoever, so don’t let the fact that “you can’t draw” stop you from doing this — just really go for it!
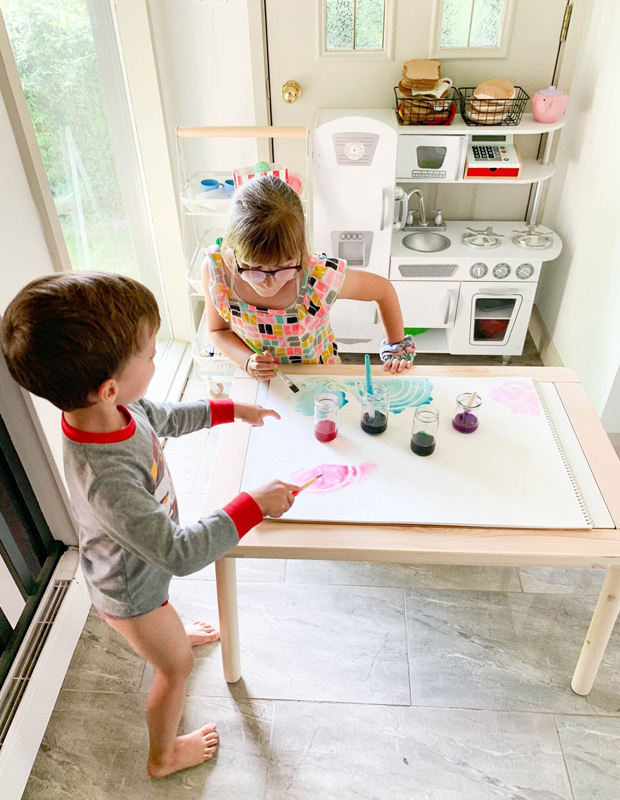
Step 2: Dilute your watercolors in water.
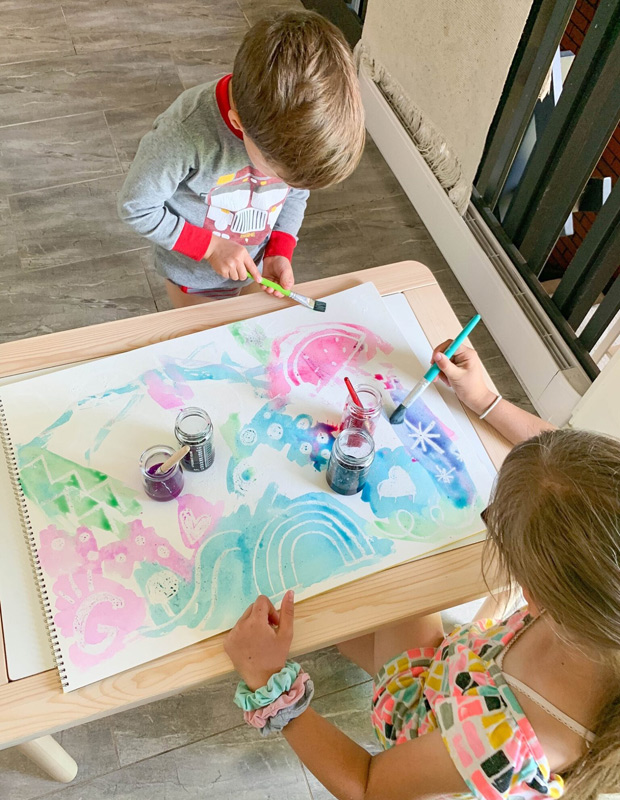
Step 3: Watercolor paper can handle layers of paint. Don’t be afraid to experiment with color mixing and continue to layer to get the desired result.
Painted Clay Wall Hooks
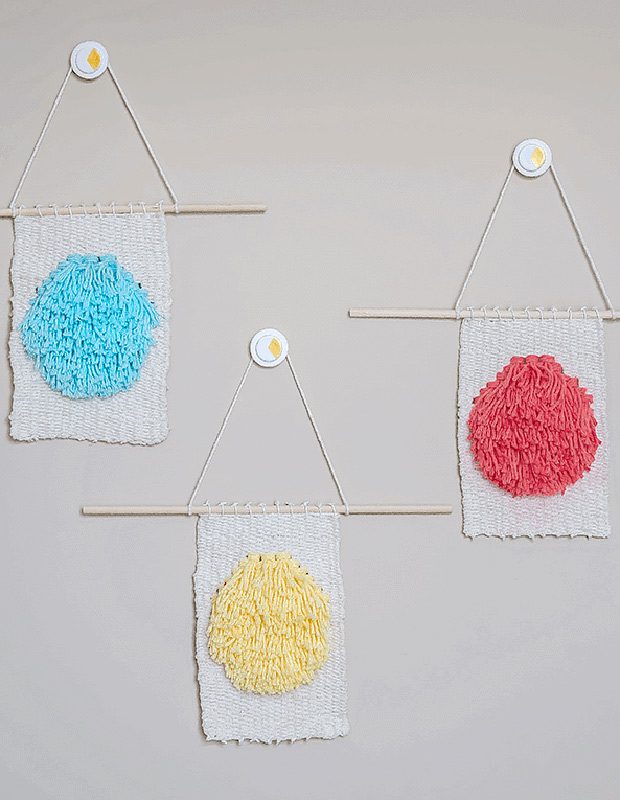
If your child is always trying to find new ways to dress up their bedrooms or play spaces, this is the project for you. Jelica Zdero’s painted clay wall hooks are super easy to make and can be used to hang anything lightweight — from art to photos and jewelry.
What you’ll need:
- Polymer clay (oven-bake variety)
- Rolling pin
- Round cookie cutter (2 sizes)
- Flexible clay cutter (or other sharp tool)
- Non-skid mat or wax paper
- Gorilla glue
- Removable wall fasteners
- Cookie sheet
- Clay softener (or baby oil)
- Gold acrylic paint and paint brush
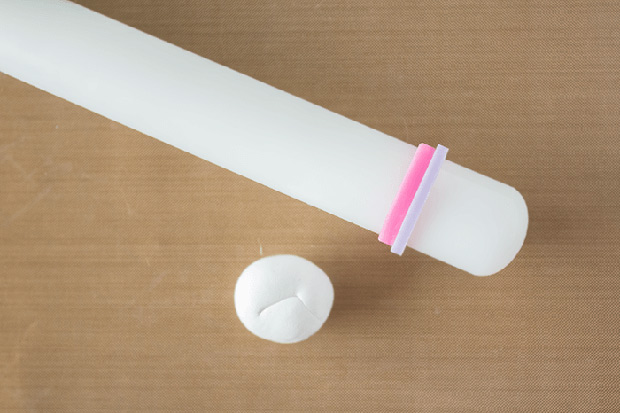
Step 1: Roll out and cut clay. Cut off a piece of clay using the flexible clay cutter (or other sharp tool). ‘Condition’ the clay by rolling it in your hands. If the clay you are working with is a bit dry (if there are still cracks when you bend it after conditioning), add a drop or two of clay softener or baby oil. Roll the clay into a ball. Place on your mat (or wax paper) and roll out with a rolling pin to 1/4 or 1/8″ thick. With a small rolling pin, create evenly flat clay in three portions. Using your cookie cutters, press into the clay to create your circles. For each hook, cut one large and two small circles. Remove the excess clay.
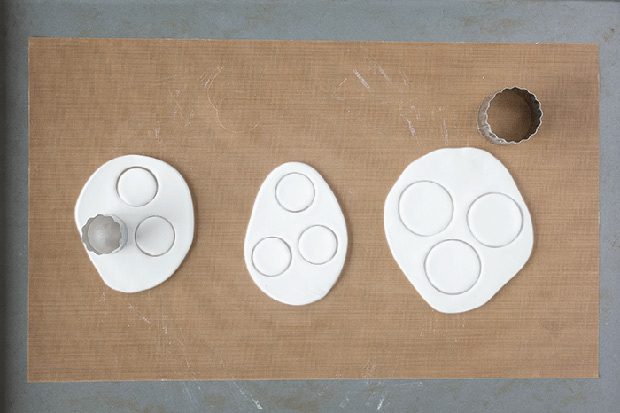
Step 2: Bake clay. Place the clay mat (or wax paper) with your clay circles on a cookie sheet and bake in the oven according to the instructions on the clay packaging. As a general rule of thumb, oven-bake clay is baked for a half hour for every 1/4″ of clay. Once fully baked, remove the clay from the oven. Let cool before proceeding.
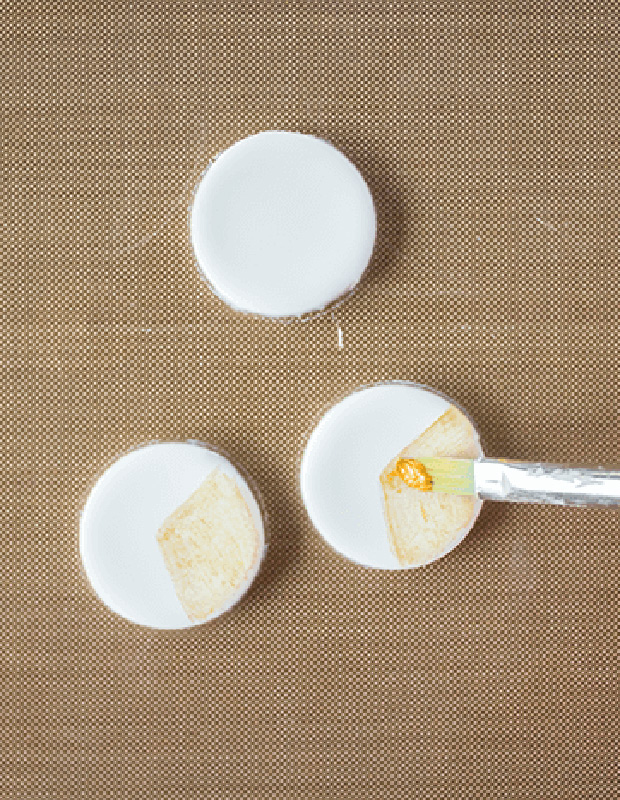
Step 3: Paint clay. Apply whatever fun color or design you wish using acrylic paint (or anything else such as nail polish, sharpie, or even stickers).
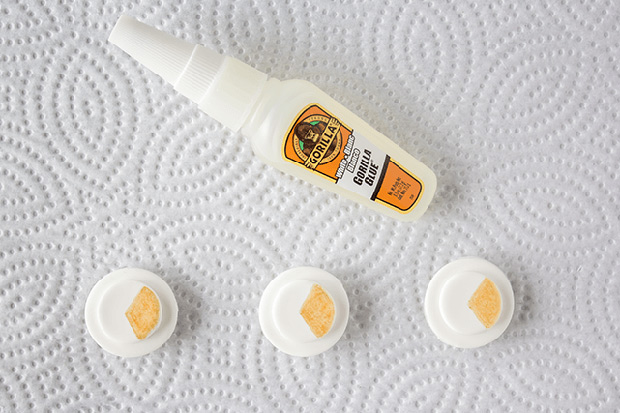
Step 4: Glue clay. For this design, you will be gluing the two smaller circles to the large one — that is, one on each side of the large circle. When it comes to gluing clay, Gorilla Glue is a great choice, but feel free to experiment with different varieties. Make sure to follow the instructions on the bottle of your Gorilla Glue for optimum adhesion. (Gorilla Glue is strong, but it takes about 24 hours to fully adhere.)
Step 5: Apply wall fasteners and hang! Once you apply the wall fasteners to the back of each hook, you are now ready to hang your treasures!
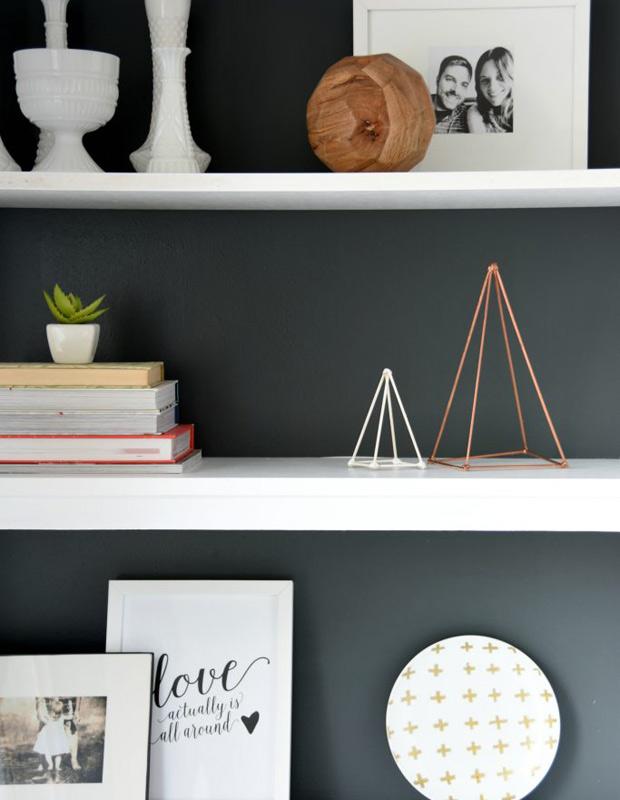
DIY Geometric Sculptures
Amp up your #shelfie game with these geometric sculptures by Gemma Bonham-Carter. Not only will they look amazing on your shelves, they can also be used as a tool to teach kids about geometry!
What you’ll need:
- Wood skewers (found at a grocery store for making kebabs)
- Hot glue gun and glue sticks
- Spray paint (white and copper)
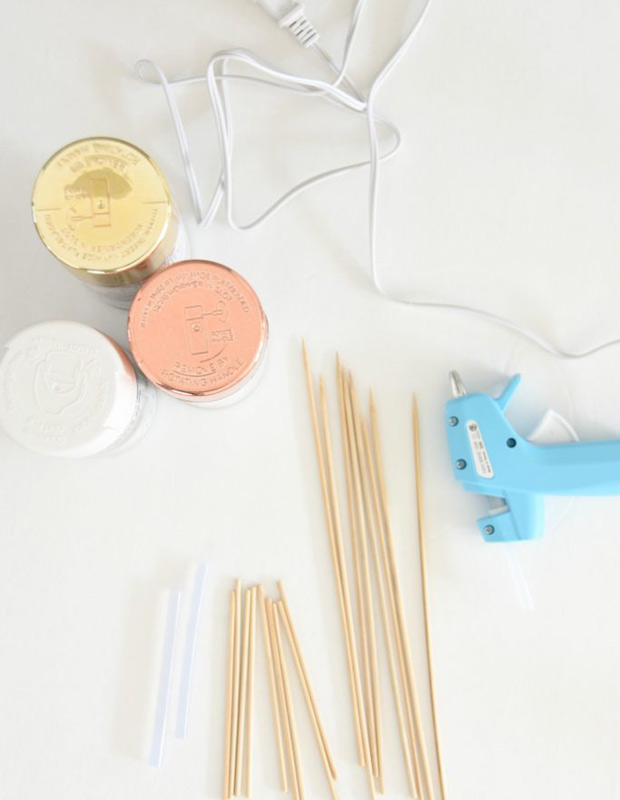
Step 1: Cut your skewers so that you create triangle shapes (two long pieces + one short piece = triangle). Do this to create two triangles.
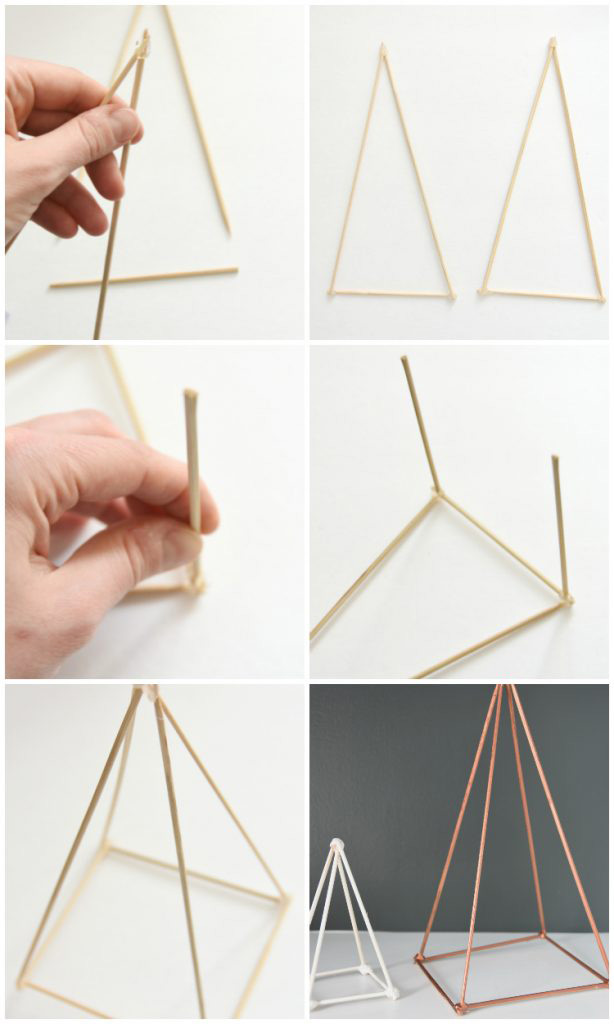
Step 2: Attach the two long pieces together at the top using hot glue. You need to put on a big glob of the glue and then hold them together for a good 30 seconds before it dries. You can go over it with some more hot glue if needed to make sure they are really stuck together. Then, glue the short piece across the bottom. Repeat to form your second triangle.
Step 3: Lay your triangles down on the ground and cut two more short pieces. These are the pieces that are going to connect your two triangles, and turn this into a three dimensional structure. Glue each short piece to the base of one of your triangles, so that they are standing up (see middle pics). Again, you need to hold in place as the glue dries.
Step 4: Glue the ends of the standing up pieces to the base of the second triangle. Then glue the tops of the two triangles together so that it creates the completed shape.
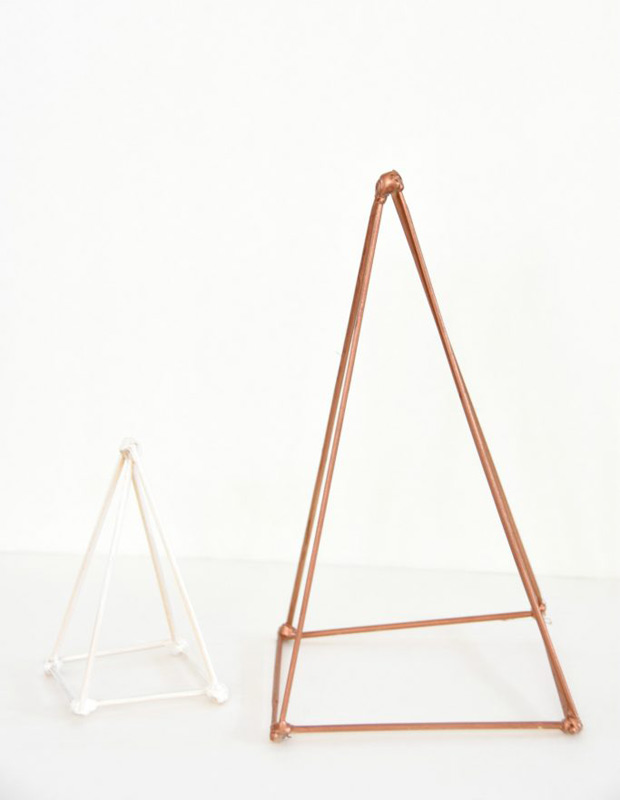
Step 5: Spray paint your sculptures when the glue has had a lot of time to dry. Don’t stress about if the glue looks globby because once it’s spray painted you don’t really notice.

