Bedrooms
October 23, 2020
Paint Project: A DIY Statement Headboard
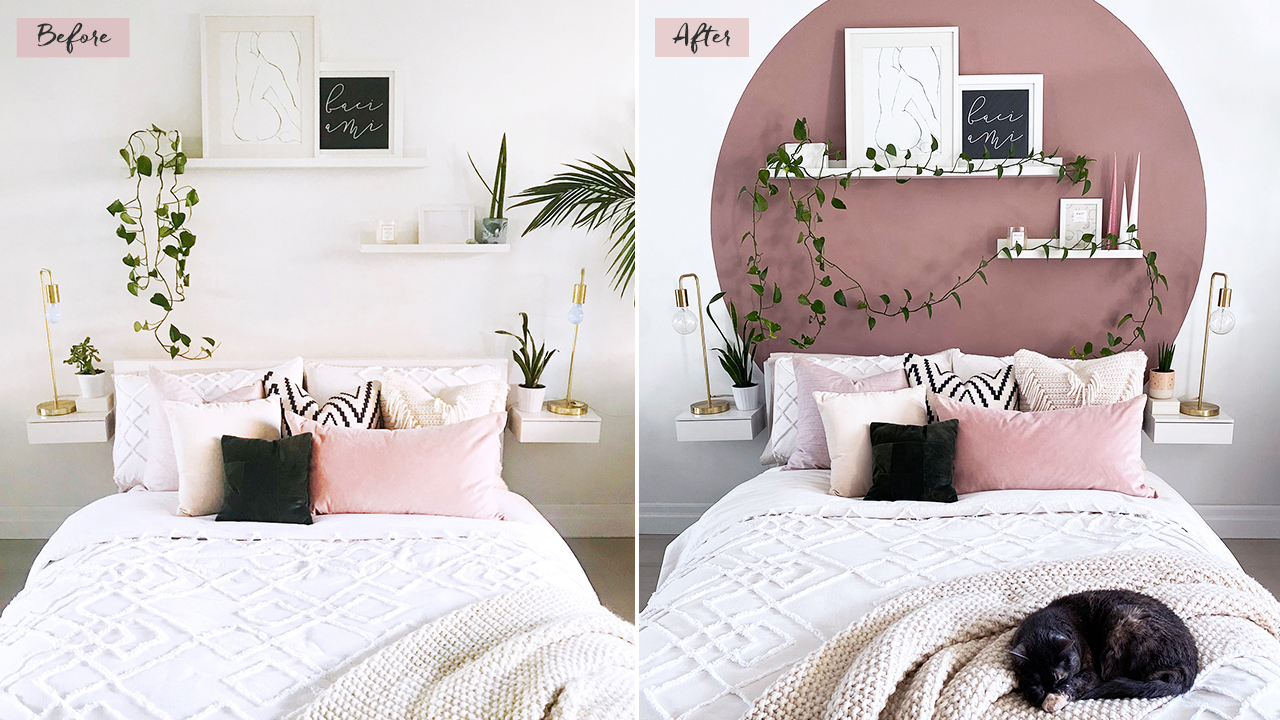
H&H’s Tess Ciarloni shares her budget-friendly bedroom transformation.
I live in a 350-square-foot condo, and when I saw painted archways and circles pop up all over my Pinterest feed, I knew that adding a shape to my all-white walls would be the perfect way to bring color and contrast to my small space. So, I decided to paint a large circle over my bed that visually doubles as a headboard! Farrow & Ball’s Sulking Room Pink was the right mix of rich, muted and dusty, and I absolutely love how the color came out. This was a really easy project that I was able to do in an afternoon and on a super tight budget. Scroll down to learn how!
What you’ll need:
- 1/2 quart paint
- Small paintbrush
- Paint roller and tray
- Screw and screwdriver
- Drywall compound
- Putty knife
- 3 to 4 ft. of string (ideally with no stretch)
- Pencil crayon in a color similar to the paint
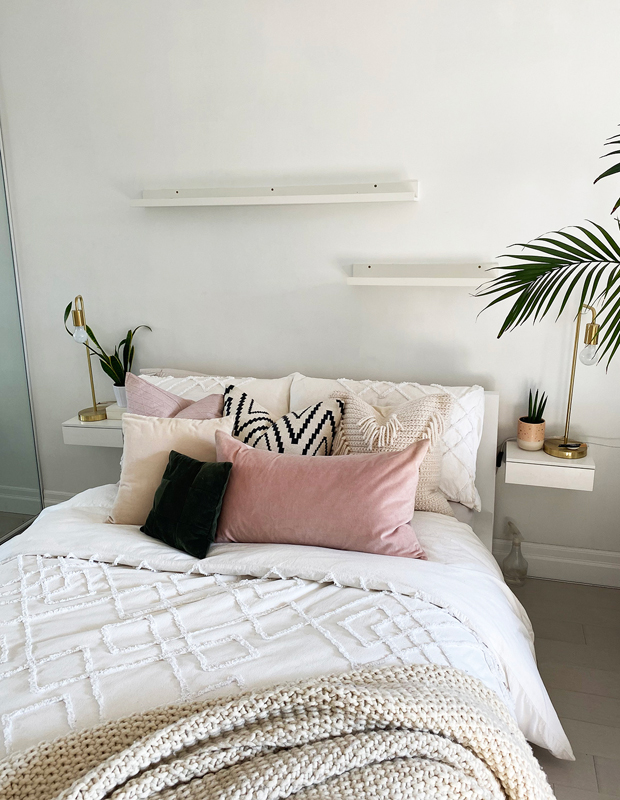
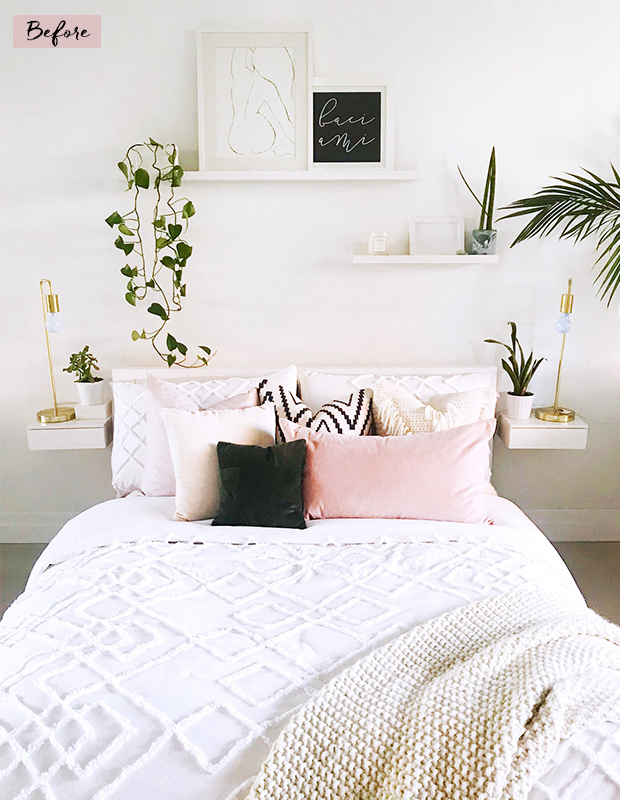
Step 1: I started by pulling my bed away from the wall and removing all the shelving and art that hung over my bed. If there are any holes in the wall, patch and sand those first.
Step 2: Measure how wide your bed is and determine how much you want your circle to extend past the bed at its widest point. My bed is about 54″ and I wanted the circle to extend another 8″ out on each side, so I knew that I wanted my circle to be 70″ in diameter.
Step 3: Next, I found the center point between my two nightstands and made a mark on the wall to indicate the center. My nightstands are screwed into the wall, so I had to make sure that the circle was centered in between them. Even if your nightstands can move, you’ll most likely want to do this too.
Step 4: For me, I have shelves that hang above my bed with art on them, and I wanted to make sure that the circle would extend past the art as well. To do this, I lined my measuring tape up with the center mark and measured 70″ vertically. I started measuring from about 6″ above where the the top of the tallest picture frame would be and made an “X” at the halfway point (35″). I roughly measured what the arc of the circle would look like with my measuring tape just to make sure that it wasn’t hitting the nightstands.
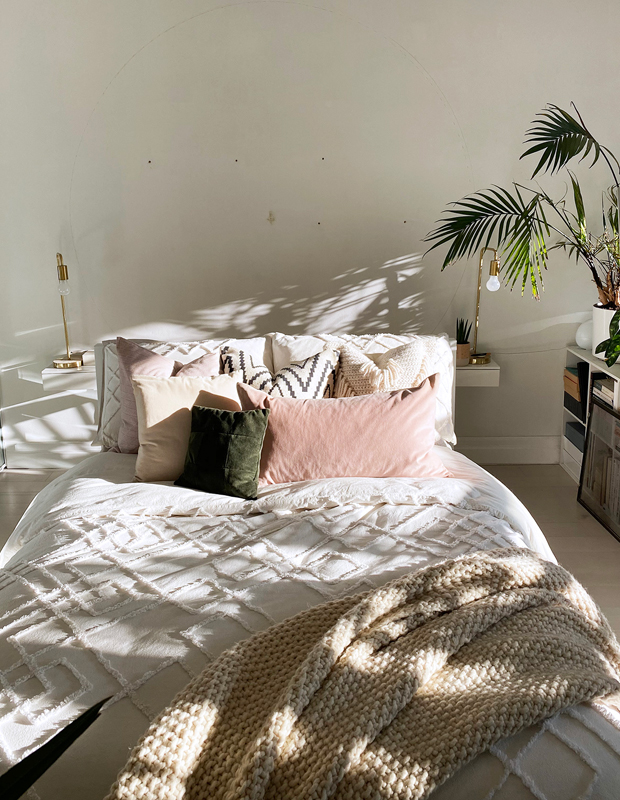
Step 5: Next, you’re going to drill a screw into the wall where you marked your “X”, leaving about 1/2″ of the screw out of the wall. Tie a string onto the screw and measure your string so that it’s half the diameter of your circle. (In my case, that was 35″.) Tie your pencil crayon to the string and measure again, adjusting as needed until your string measure matches the radius that you need.
Step 6: Starting at the bottom of your circle, pull the string taught, and holding the pencil crayon at a right angle to the wall, make a small line. Keep moving your pencil crayon around the circle, making small marks until you’ve gone all the way around. Take your time as you do this and make sure to keep the string taught and the pencil crayon at 90 degrees to get the most accurate circle.
Step 7: Once you’ve made all your marks, very slowly (and we mean VERY slowly) start to trace the small arcs of your circle by connecting your marks going all the way around. Ideally, you should have a perfect circle. Patience is key!
Step 8: Take a step back and assess if you need to make any edits. If you’re happy with your circle, go ahead and take the screw out of the wall and patch it with drywall compound. It will dry while you paint the outline of the circle.
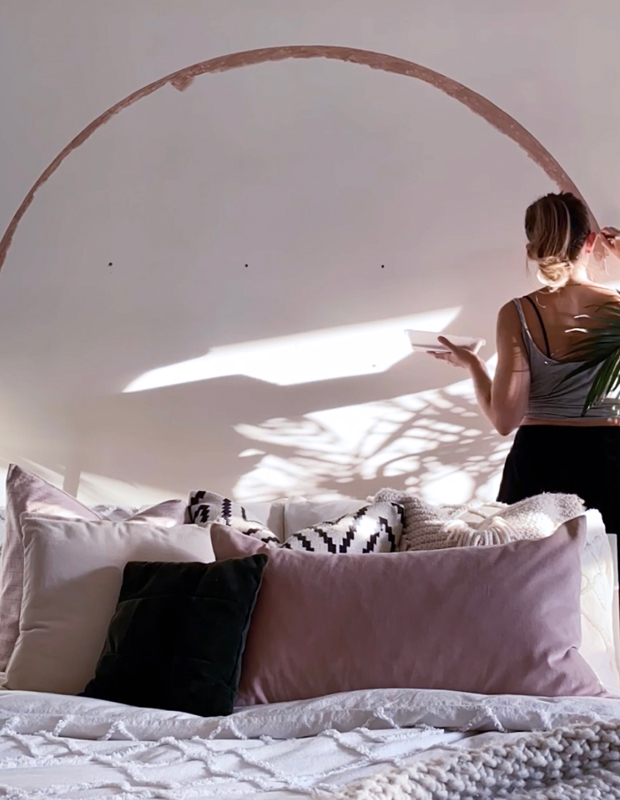
Step 9: For the next step, take your paintbrush and start to paint the outline of the circle. I painted mine about an inch thick so that I could get the roller right up to the outline without missing any spots. This is also slow, steady work, but if you’re patient and take the time to be precise, you’ll have a more accurate and crisp-looking final product.
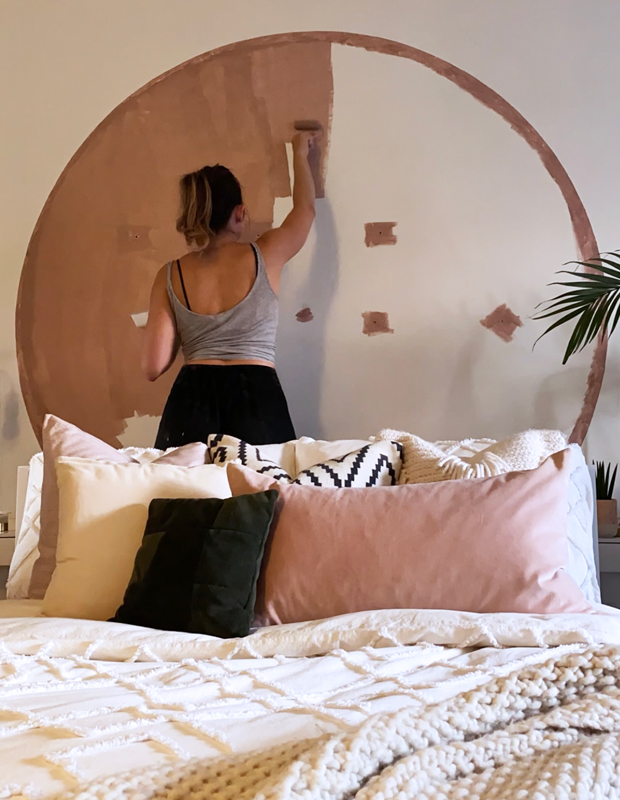
Step 10: Once you’ve painted your outline, check to see if your drywall compound is dry. If so, give it a quick sanding, and get ready to paint!
Step 11: Use your roller and carefully paint the entire inside of the circle. I was planning on hanging my shelves back up so I didn’t paint over the holes that were made in the wall (but painted to within about 1/2″ of them).
Step 12: Repeat the outline and filling in process until your circle looks a solid color. For me, that took three coats.
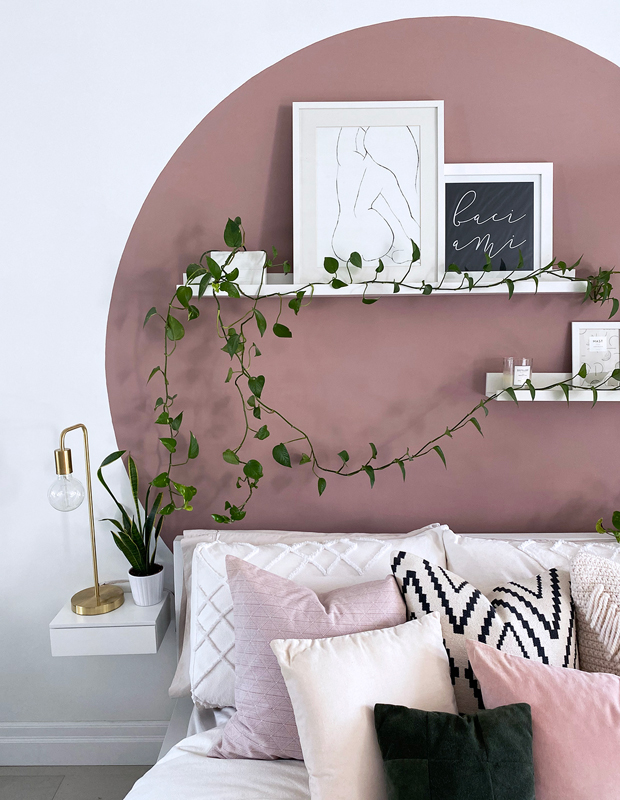
Step 14: Once you’re done painting, give it a solid 24 hours to fully dry, and then feel free to hang anything within your circle or leave it as is for a simple but impactful wall treatment.

This project is such a great way to add a pop of color to any space. Even my cat, Seva, approves!
Tess Ciarloni
Tess Ciarloni

