

Decorating & Design
December 20, 2017
Is Patterned Velvet The New Wallpaper?
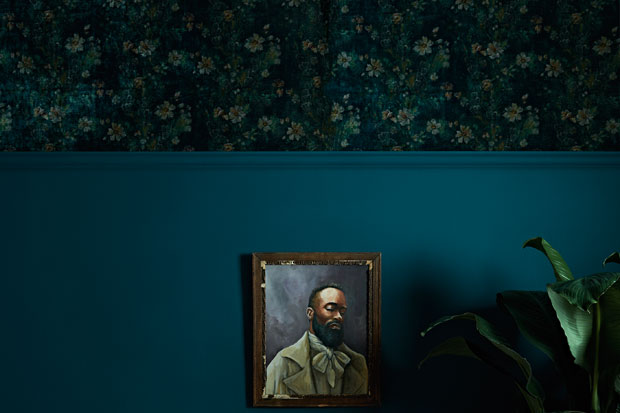
Joel Bray shares how to upholster walls in velvet for a luxurious take on wallpaper.
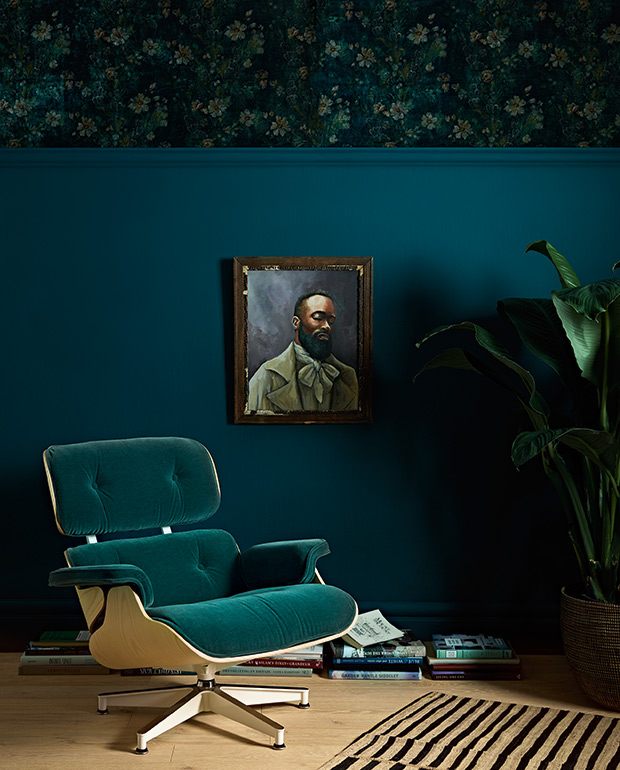
 Upholstered walls, including velvet, have been taking interiors to the next level for centuries. This luxurious look can be difficult to DIY if wrapping an entire room, but applying fabric to the upper portion of your walls and finishing it off with a plate rail-height molding is an easier and cost-effective way to install velvet as a wall covering.
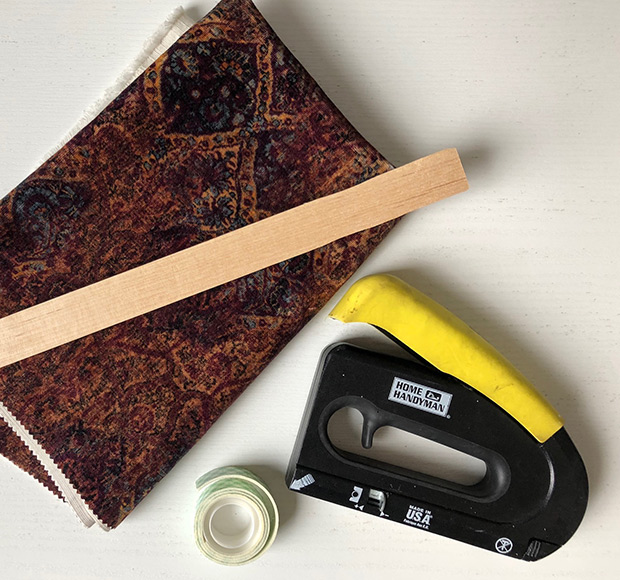
What you’ll need:
- Velvet (Choosing a solid fabric is easier, but a patterned velvet is worth the effort.)
- Thin balsa wood strips (Enough to wrap around the perimeter of the room. Available at lumber yards and art supply shops.)
- Heavy-duty double sided tape (Often used for installing carpets.)
- Staple gun with staples
Step 1: Start by calculating the amount of fabric required to cover the top 24” of your room’s walls, plus 1.5” extra fabric for installation purposes. This measurement can vary based on your ceiling height. A 36” drop of fabric may look more balanced if working with taller ceilings. Use your own discretion to decide what looks best in your space. Keep in mind that most fabrics are sold in 54” widths.
Step 2: Cut fabric in sections of 25.5” lengths (24” + 1.5”), ensuring the pattern is matched from one section to the next.
Step 3: Working with one 25.5” l. piece, create a finished edge by folding and pressing each side 0.75 of an inch and place double-sided tape along the edge. Leave the paper backing on for now.
Step 4: Cut a piece of thin balsa wood to match the width of your fabric. This will act as a rail to staple along and keep the top edge of the velvet tightly against the wall/ceiling intersection.
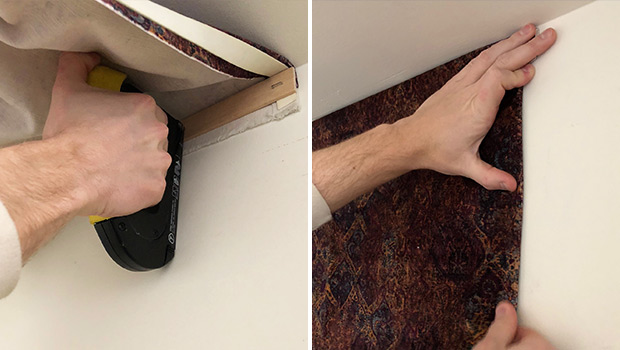
Step 5: Sandwich the velvet between the balsa wood rail and the wall (above, left image), leaving an extra 0.5” from the bottom of the fabric. It’s helpful to have an assistant hold the fabric up so you can staple from underneath it.
Step 6: Staple along the balsa wood rail every 4-5” ensuring the fabric is evenly dispersed and falling level.
Step 7: Remove the paper backing from the double-sided tape and secure the 25.5” sides to the wall (above, right image).
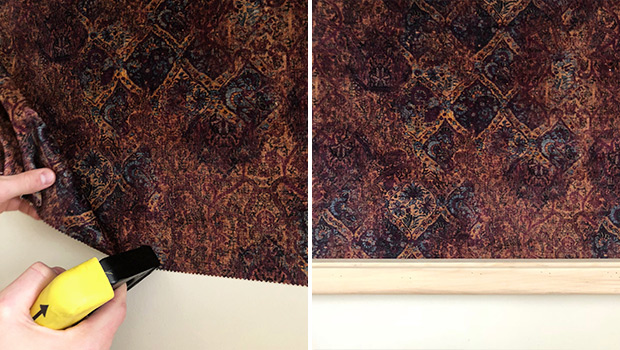
Step 8: Staple the bottom of the fabric every 4-5” and pull the fabric taught (above, left image). Make sure these staples are close to the bottom of the fabric so they’ll be covered by the plate rail trim. Repeat these steps with the next piece of fabric, remembering to match the pattern. When you reach a corner, cut the fabric to size and staple it.
Step 8: Using finishing nails and a hammer, attach a chair rail-style molding at the bottom edge of the velvet to cover the staples. Paint the trim the same color as your walls, or pull the body color from your fabric for a more decorative look.