DIY Projects
December 3, 2017
3 Creative Gift Wrap Ideas To Try Now
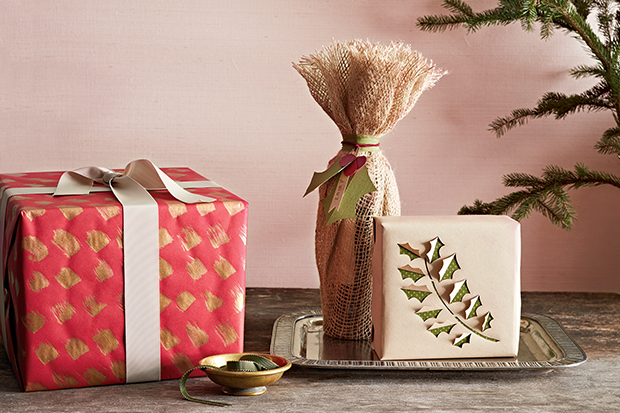
At this time of year, we take great care picking out the perfect presents, so why not put just as much thought into the wrapping? These three easy and inexpensive ideas are sure to impress everyone on your nice list. None of the materials used are inherently Christmassy. Instead, basic craft supplies are transformed into stylish displays with plenty of holiday cheer.

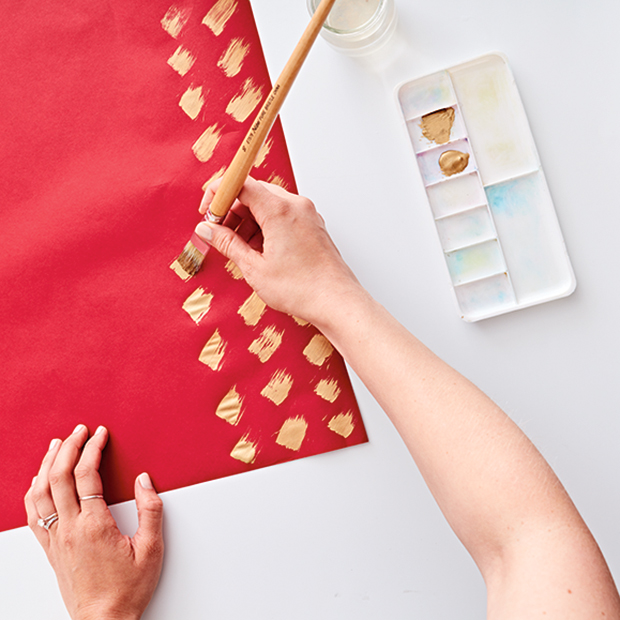
Materials: Roll of solid-colored gift wrap, metallic acrylic paint, flat stiff-bristled paintbrush, paint palette, glass of water and ribbon.
Step 1: Measure and paint. Measure gift wrap to the size of the gift box and cut, leaving enough room on the ends for folding. Lay gift wrap flat and paint small brush strokes onto the paper in rows until completely covered. To achieve the dry-brushed effect, choose a paintbrush with a squared-off head and don’t wet bristles prior to painting (it’s fine if some strokes are more opaque and others more transparent). Let dry for at least 1 hour.
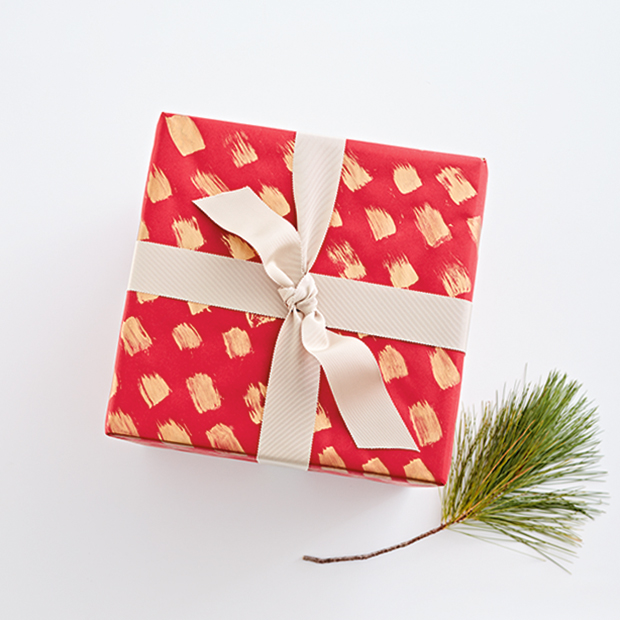
Step 2: Add decorative ribbon. Measure and cut a length of ribbon that’s long enough to wrap around your gift box three times. Center the ribbon on top of the box and bring each end down the sides, loop around the underside of the box and bring the ends back up on opposite sides. Tie a double knot and style as desired.
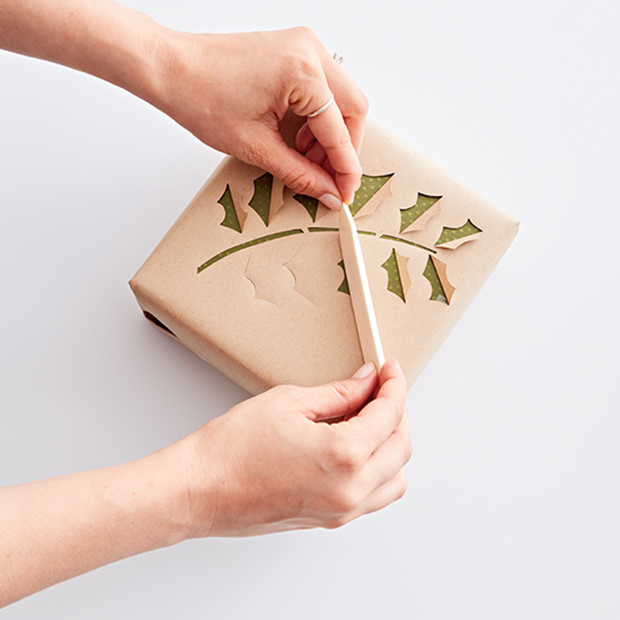
Materials: Roll of kraft paper, sheet of decorative paper, utility knife, bone folder, double-sided tape, clear tape, scissors, pencil, kneaded eraser, ruler, and gift box.
Step 1: Prepare kraft paper. Measure kraft paper to the size of the box, leaving enough room on the ends for folding. Using scissors, cut out, then trace the outline of box directly onto the kraft paper, centering it as much as possible.
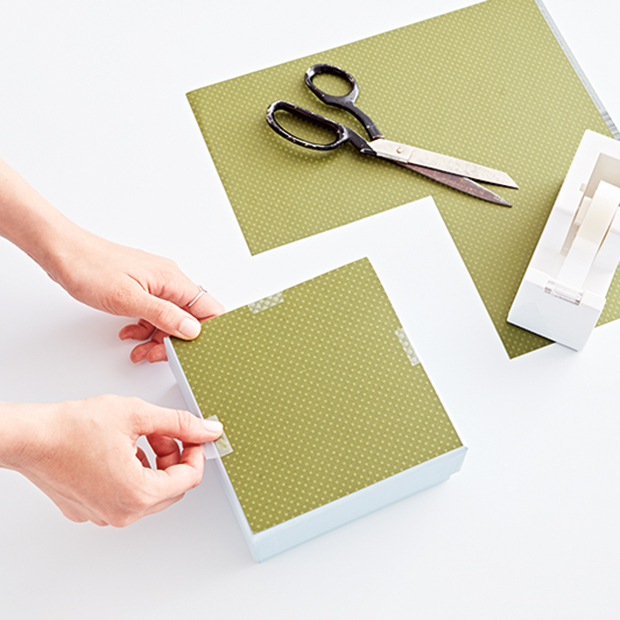
Step 2: Apply decorative paper. Using a ruler, measure the side of your gift box that will showcase the decorative paper. Once measured, cut paper to size and tape directly onto the box using double-sided tape.
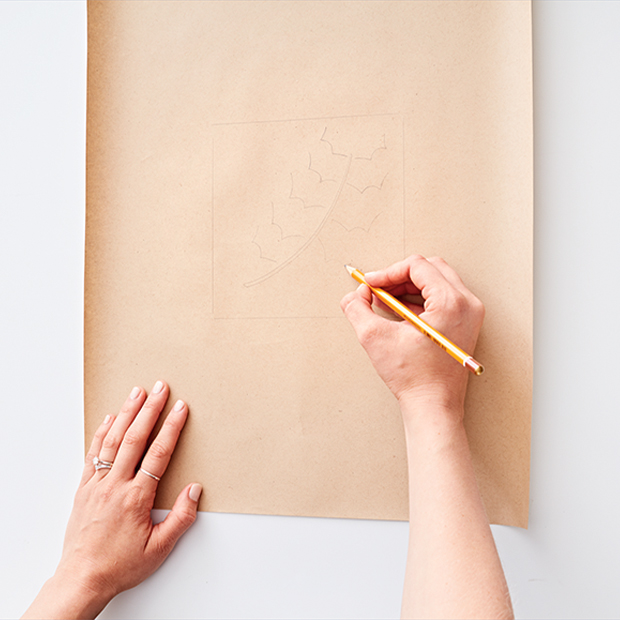
Step 3: Sketch design. Draw a holly leaf design onto the center of the kraft paper outline, beginning with the stem. Only draw the bottom half of each leaf, as this is all that’s needed.
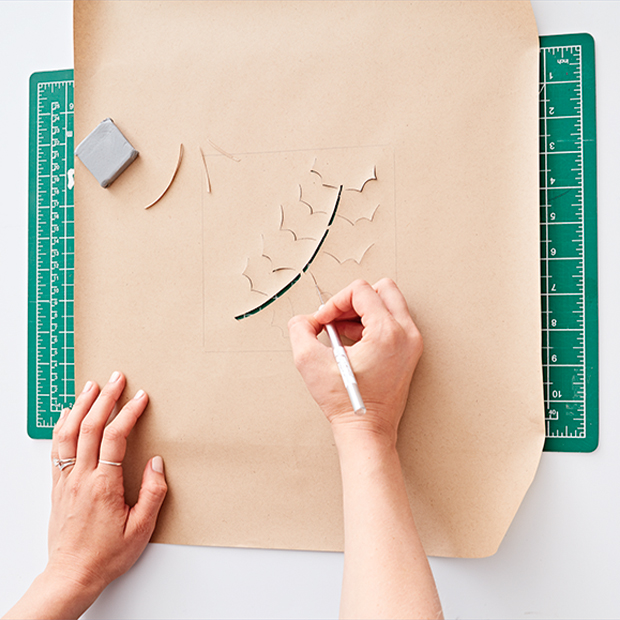
Step 4: Cut holly leaves. Using the utility knife, cut out leaf stem (excluding a few sections so that the stem holds together and does not rip). Then cut through the paper, tracing the outline of the bottom half of each holly leaf.
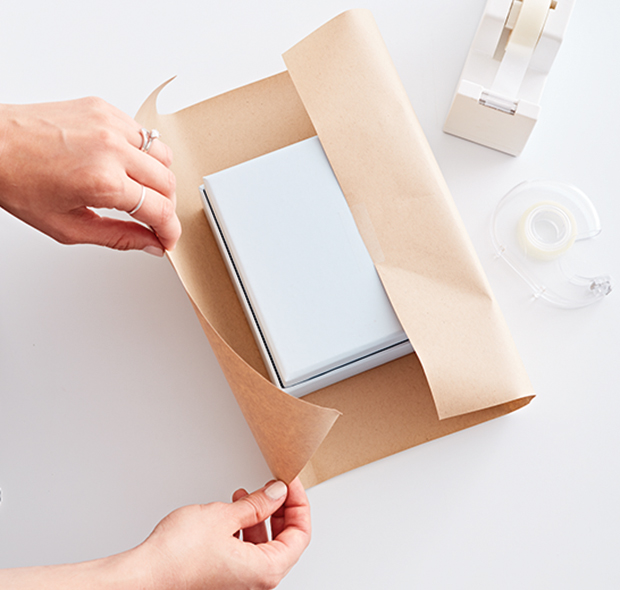
Step 5: Wrap present. Place the gift box on top of the kraft paper, ensuring that the side with the decorative paper is facing down and is centered on the holly design. Wrap using clear tape. Once wrapped, flip the box over so that the holly cutout is facing up. Line bone folder along each holly leaf and fold kraft paper upward so that the decorative paper shows through. If some pencil markings are still visible, remove with a kneaded eraser (it won’t leave bits or residue).
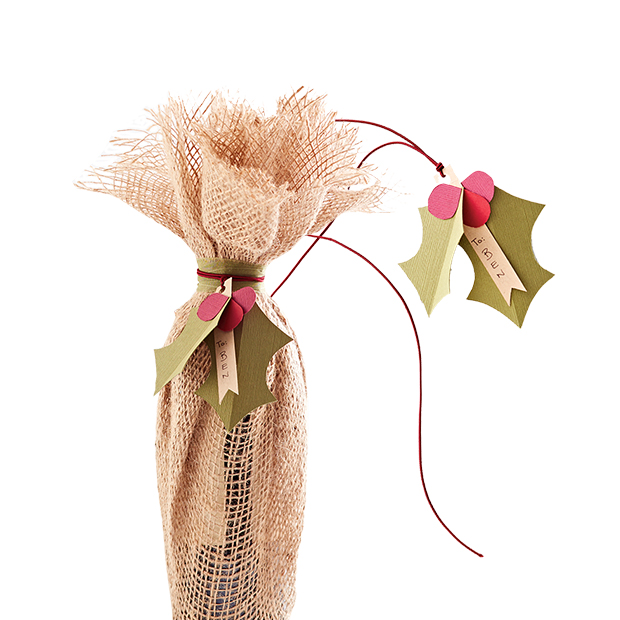
Materials: 5″ x 7″ sheets of cardstock in 3 to 4 colors, thin cord, utility knife, cutting mat, pencil, eraser, glue stick (or hot glue gun), single-hole punch.
Step 1: Print and cut out holly template. Download this template, then print on your home printer. Using a utility knife, cut out the template to use as a guide. With a pencil, trace the leaf shapes onto green cardstock and the berry shapes onto red cardstock. Trace the gift tag shape onto any color cardstock you like.
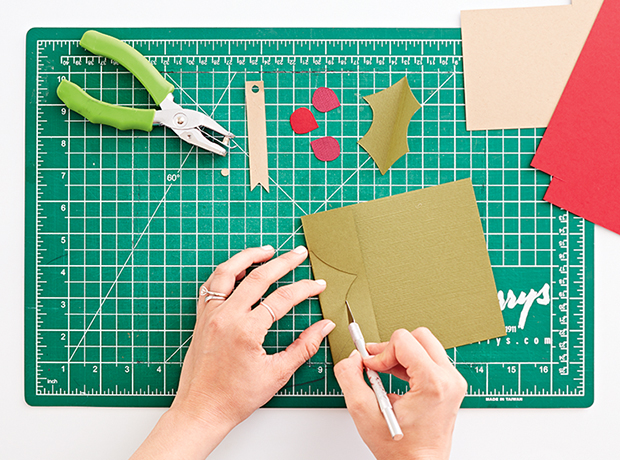
Step 2: Cut out leaf, berries and tag. Fold green cardstock down the middle of each leaf. Using a utility knife, cut along the outline for a symmetrical result (the crease will look 3D when unfolded). Cut out the berries and gift tag. Punch a hole in one end of the gift tag.
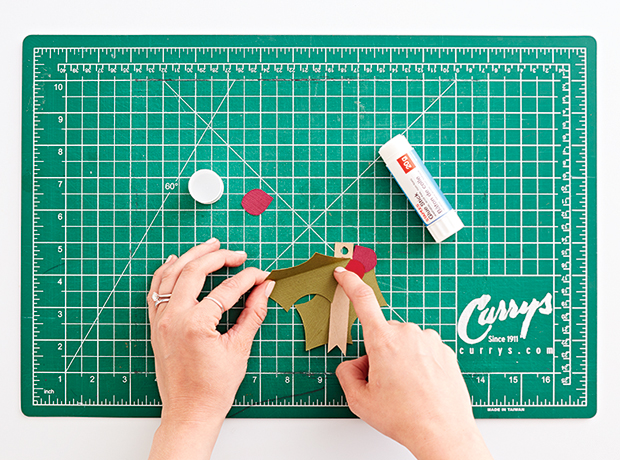
Step 3: Assemble gift tag and present. Layer the pieces together in whichever order you prefer. Use a glue stick or hot glue gun to paste them together. To attach the cord, fold it in half and tuck through the hole. Pull through and tie a knot to secure. Place a bottle of wine in the center of a length of burlap. Using scissors, cut out a circle that exceeds the height of the bottle by 1″. Draw the burlap up and around the bottle and secure using a separate piece of cord or ribbon. Add the layered holly gift tag to the neck of the bottle for a perfect hostess gift.

