

Recipe
September 26, 2017
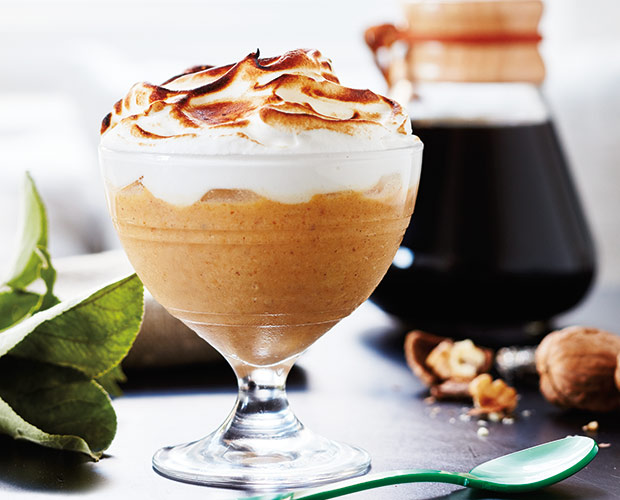
Pumpkin Pudding With Toasted Meringue
Prep Time: 30 minutes
Total Time: 5 hours, including chilling
This recipe, including the meringue, can be made the day ahead and stored in the fridge. If you have a kitchen torch, skip the broiling step and use torch to toast meringues instead.
Directions
Yield: Serves 8
Make And Cook Pudding
- Stir sugar, salt, cardamom and cinnamon in medium saucepan.
- Whisk egg yolks with milk and cream in large bowl. Gradually whisk milk mixture into dry ingredients in saucepan until smooth. Stir in pumpkin.
- Place saucepan over medium-high heat. Bring to boil, whisking continuously. Reduce heat to medium-low and continue cooking, whisking, until mixture is thick enough to coat a spoon, about 6-8 minutes. Remove from heat. Stir in butter and bourbon until smooth.
- Divide pudding in 8 small, heat-resistant jars or ramekins. Cover with plastic wrap. Chill at least 4 hours or overnight.
Prepare And Cook Meringue
- Arrange rack in center of oven and preheat broiler.
- Beat egg whites and cream of tartar in medium bowl with electric mixer on high until foamy. Gradually beat in sugar, 1 tbsp at a time, until meringue is stiff and glossy.
- Dollop meringue on pumpkin puddings, spreading right to edges to seal and leaving high mound in center. Using back of spoon, form swirls on meringue.
- Place puddings on baking sheet and broil in center of oven, rotating every 30 seconds, until peaks turn golden brown, 2 to 3 minutes. Watch carefully to ensure meringue doesn’t burn.
- Remove from oven. Serve immediately or refrigerate until ready to serve.
Photographer:
Stacey Brandford
Source:
House & Home October 2016