Decorating & Design
DIY: Colorful Canvas Storage Bins
Published on July 31, 2017
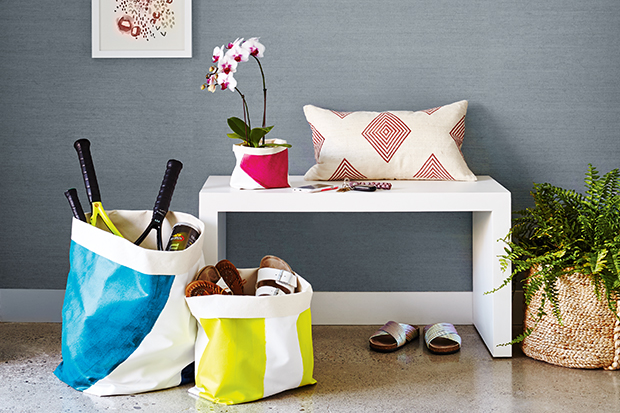
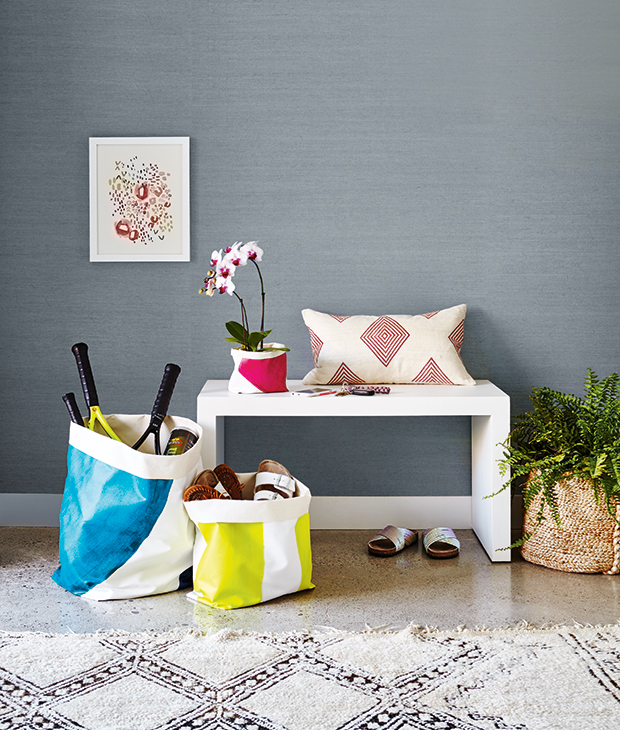
Senior editor Sally Armstrong shares step-by-step instructions on how to make stylish storage bins.
 These storage bins can be customized to almost any size or style. Start with a canvas that’s already primed and use marine glue to fasten the seams rather than sewing them together (it’s much easier). This project does require a bit of patience: Allow the glue enough time to dry between each step for the best results.
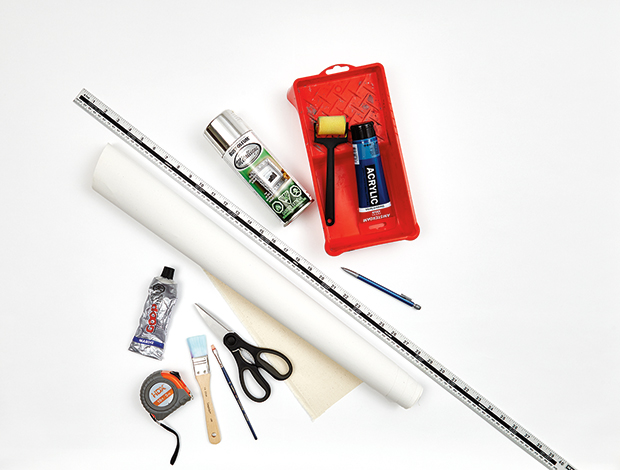
You’ll need primed canvas, paintbrushes, acrylic paint or spray paint, roller, ruler (for smaller bins) or measuring tape (for larger bins), pencil, scissors, marine (or other strong) glue.
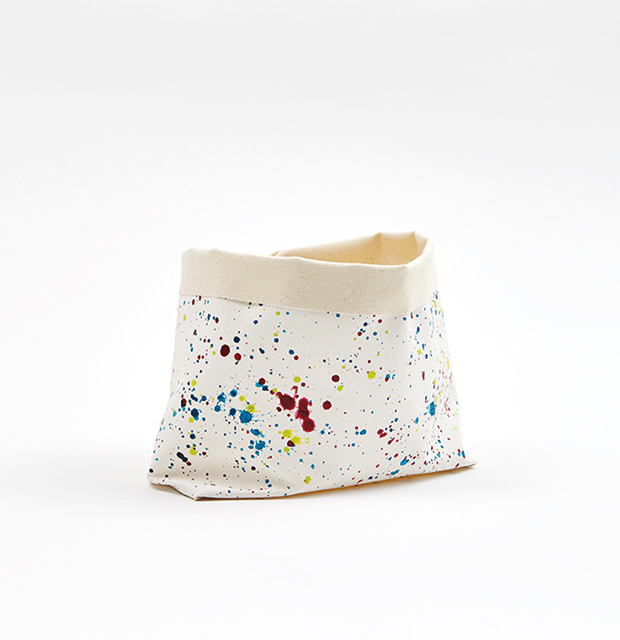
Paint large abstract shapes in solid colors onto the canvas, or opt for a splatter effect, like the one shown above. To create splatter, dip paintbrush in paint and flick bristles at canvas. To create a pattern, use a pencil and ruler for straight edges and freehand for everything else. Allow enough time for canvas to dry (approx. 1 hour) before assembling.
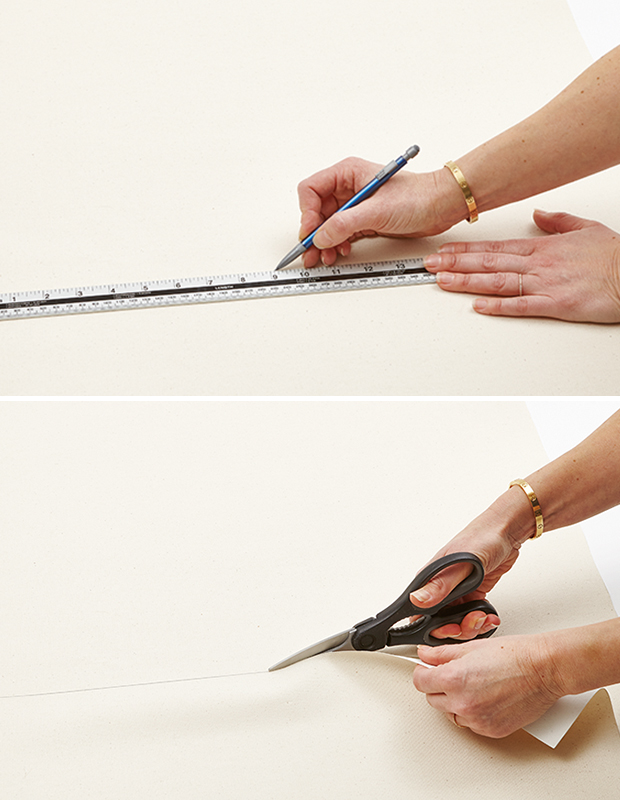
Lay out canvas with unprimed side facing up, and use ruler (or measuring tape) to measure the size you want your bin to be (see below for dimensions). Use pencil to mark canvas and cut to size.
Small (6″ h. x 6″ diam.): Cut canvas to 8″ h. x 20″ l.
Medium (13″ h. x 12″ diam.): Cut canvas to 18″ h. x 38″ l.
Large (19″ h. x 16″ diam.): Cut canvas to 26″ h. x 50″ l.
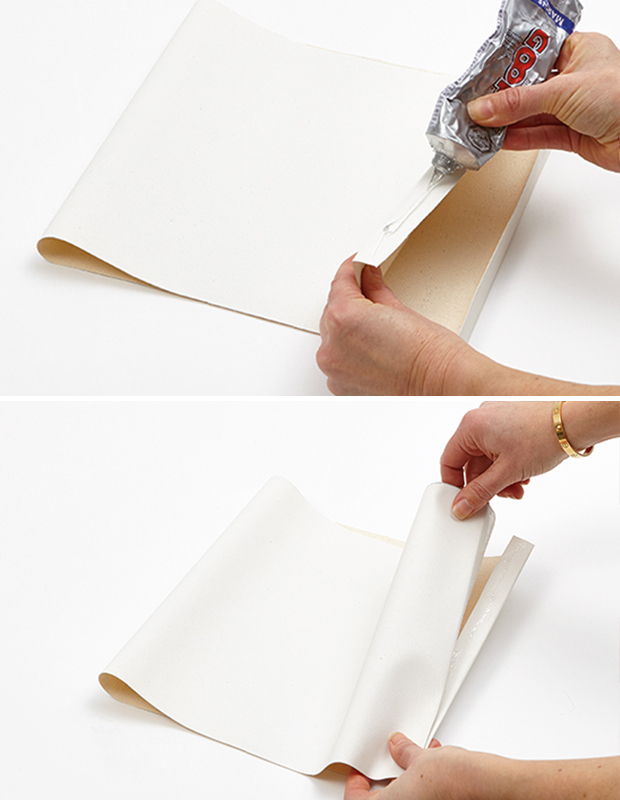
Fold canvas in half crosswise with primed side facing out. Fold both short ends inward 3⁄4″–1″; ensure folds are even. Apply glue along primed side of each fold; pinch folds together to create a single seam. Place a weight (I used a stack of books) evenly on top of seam. Let dry for 24 hours.
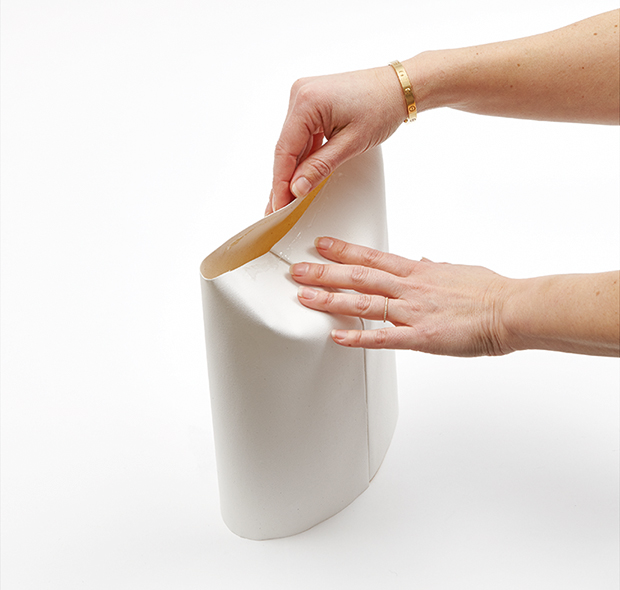
Push down on one open end of canvas tube to create two flaps. Fold one flap on top of the other, ensuring there is enough overlap to create a secure base. Apply glue to overlapping flaps; allow a few minutes for glue to get tacky. Press flaps together, then flip bin open side up. Place weight inside (try a canister for small bins; books for larger ones) and let dry for 24 hours.
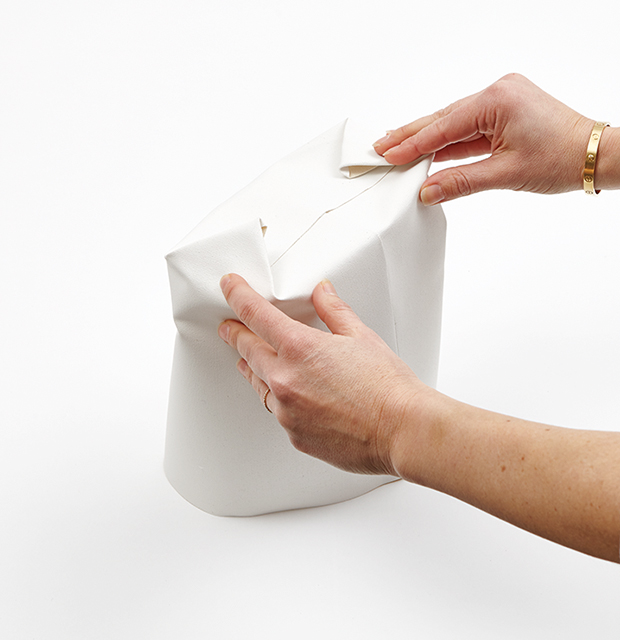
Turn bin base side up and fold in pointed ends so they don’t stick out. Glue each end to base and flip bin open side up. Reapply weight while glue dries, another 24 hours.
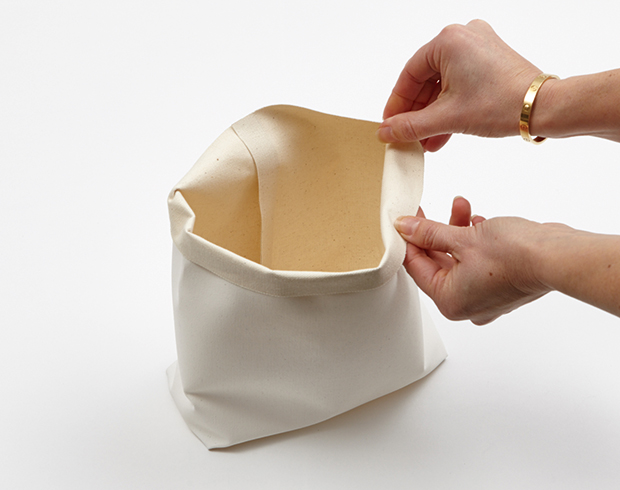
Roll lip of small bin out about 3⁄4″ for a fun touch and a bit of texture. For large bin, increase size of lip to 2″. Fill and enjoy!
Valerie Wilcox
House & Home July 2017
Sally Armstrong

