Food
How To Make A Carrera Marble-Inspired Cake
Published on March 24, 2017
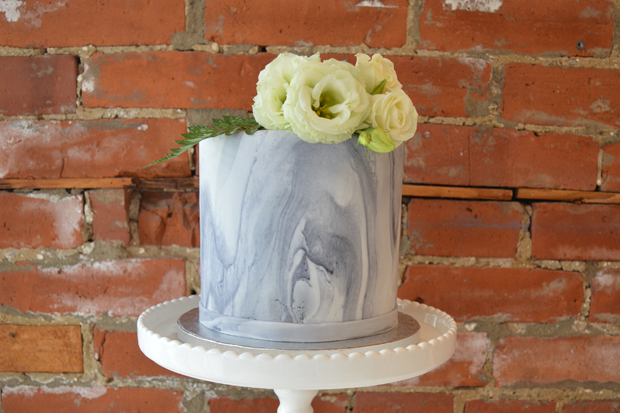
If you follow House & Home on Instagram, you know that we recently reached 200 thousand followers on the social media channel! To celebrate, we got a Carrera marble-inspired cake from Toronto bakery Le Dolci, and we’re sharing the tutorial on how you can make it at home. Click through for step-by-step instructions on how to create the designer-approved cake.
Tools: A cake turn table, offset spatula, disposable cake plate, cake stand, bench scraper, rolling pin, knife, edible or food-safe flowers (we used different varieties of white roses), floral wire, floral tape.
Ingredients: Le Dolci’s vanilla buttercream and cake, 24-ounce tub of white fondant, black gel food coloring, corn starch or icing sugar.
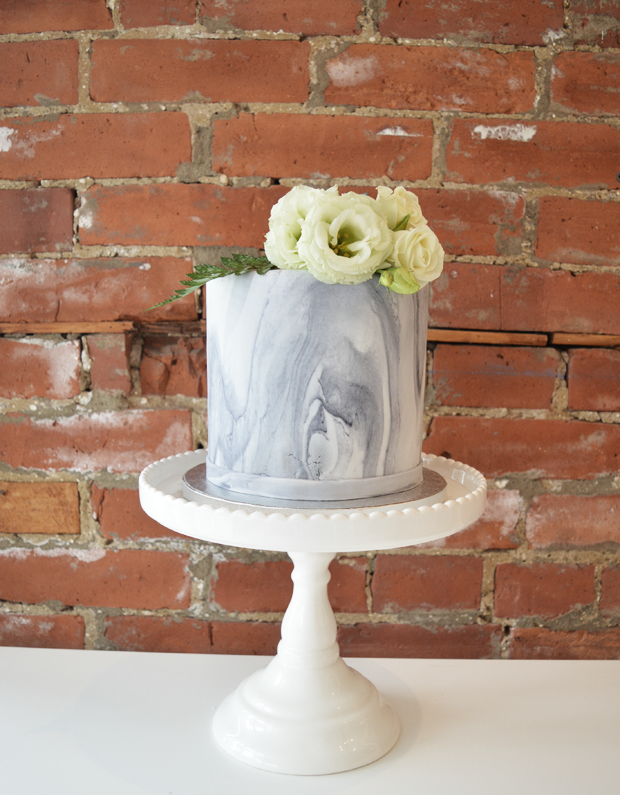
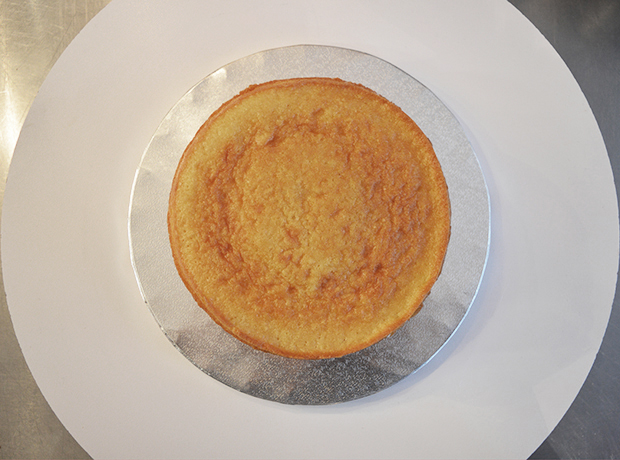
Place the disposable cake plate on your turn table. Dollop about a teaspoon of icing onto the cake plate and put the first cake layer on top. The icing will hold it in place.
Baker’s tip: Place the cake layer upside down so the top is flat.
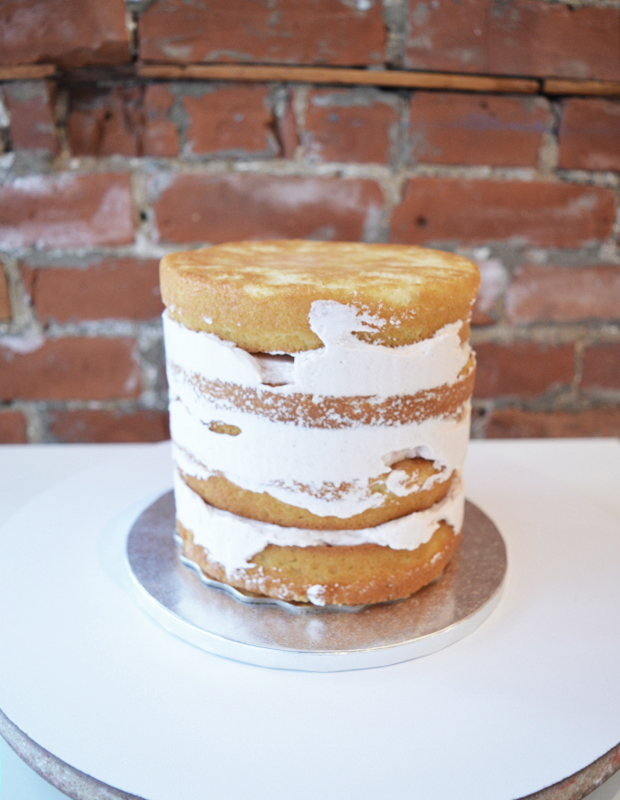
Dollop a generous amount of icing on top of the first cake layer and smooth it out with an offset spatula. Repeat for all layers of the cake. To smooth out the icing in between the layers once they’re stacked, run the offset spatula along the edges of the cake as you spin the turn table.
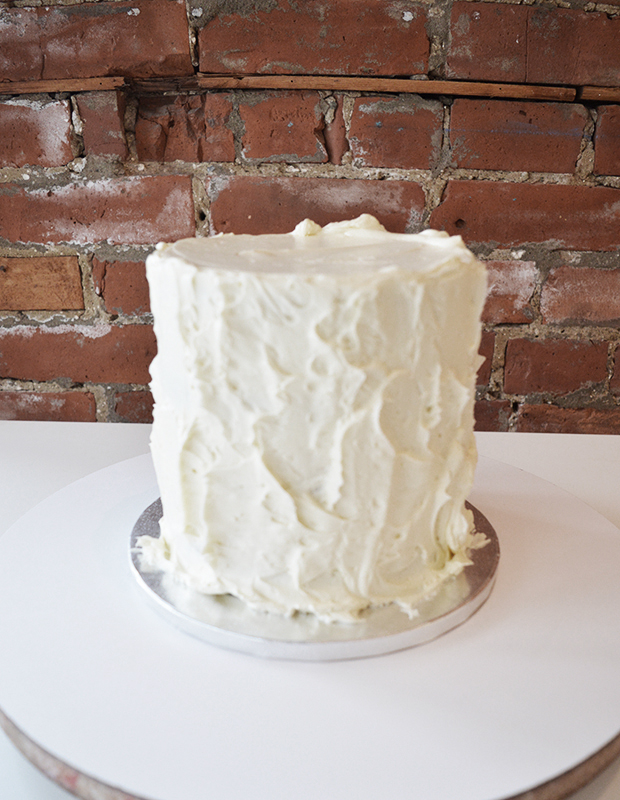
Dollop a generous portion of icing on top of the cake. Use an offset spatula to spread it out over top and edges of the cake. Spread icing over the side of the cake by working from the top down and adding more icing when needed.
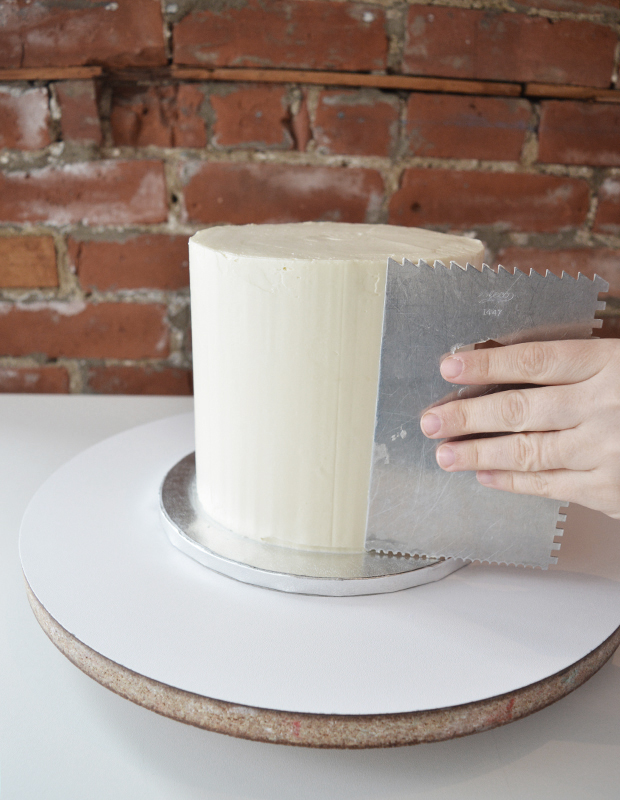
Smooth out the icing on top of the cake with the bench scraper. Smooth the side of the cake by running the bench scraper along the side of the cake as you spin the turn table. Repeat both actions until the cake is smooth and you are happy with the result. Wipe the cake plate with a cloth to remove excess icing. Chill the cake for at least 10 minutes.
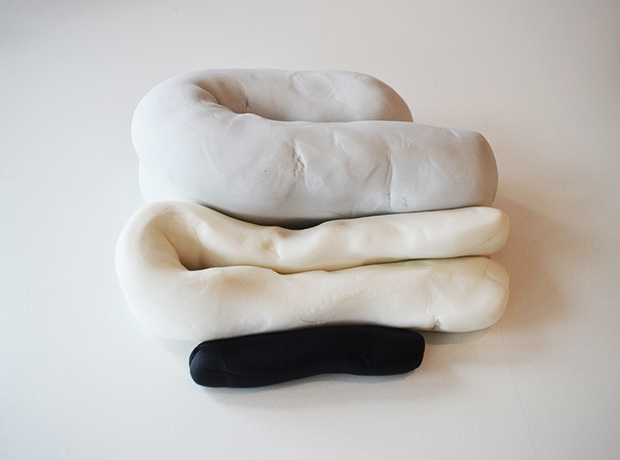
Break fondant into three pieces: one large, medium and small. Make grey fondant by adding a tiny pinch of black gel food coloring to the large piece of fondant. Knead the food coloring in until it becomes grey, adding more food coloring if necessary. Add black gel food coloring to small piece of fondant and knead until it becomes black, adding more gel if necessary.
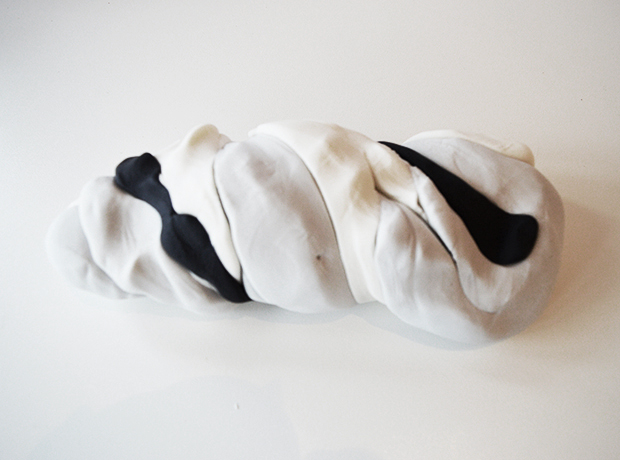
Roll the three pieces of fondant into snakes and twist them together. Knead them together into a ball, but be careful not to over-knead or you’ll lose the marble grain.
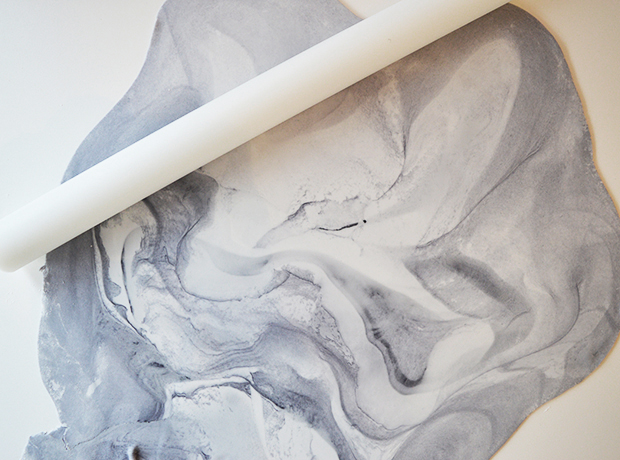
Sift corn starch or icing sugar onto clean work surface. Place ball of fondant on top and roll it out with a rolling pin until it’s 1/4 inch thick or less. Try to maintain some semblance of a circle.
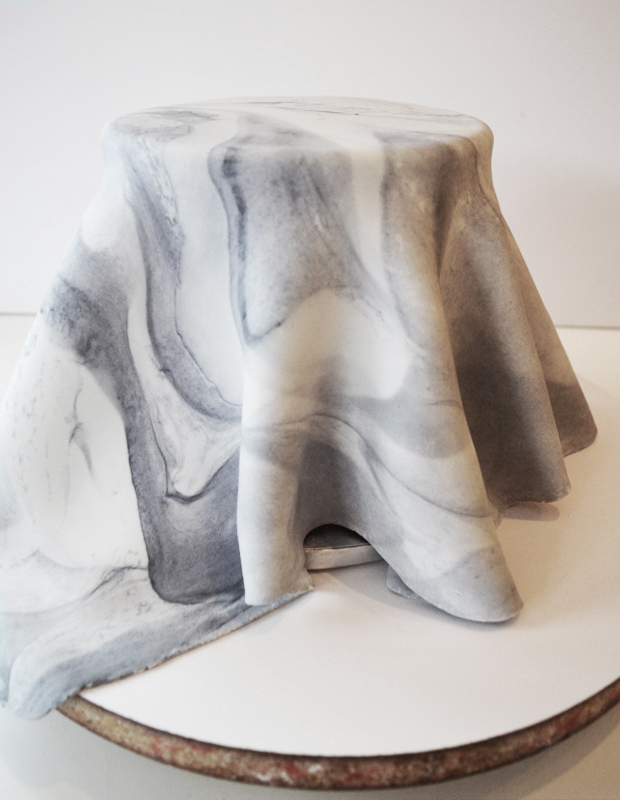
Remove cake from fridge and place on a cake stand or something elevated. Gently lift the marble fondant with the rolling pin and drape over the cake.
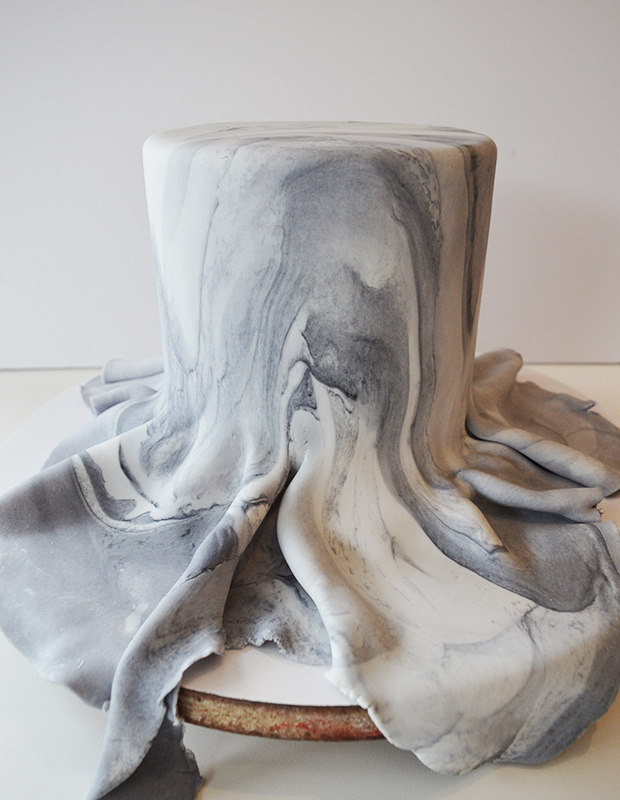
Secure the fondant on top of the cake by lightly pressing down and smoothing it out. Then smooth the fondant around the sides of the cake, working to remove the wrinkles as you go. To smooth wrinkles, lift the fondant away from the buttercream, readjust and smooth down again.
Baker’s tip: Fondant isn’t permanent and can stretch, so don’t worry too much if you don’t get it right the first time.
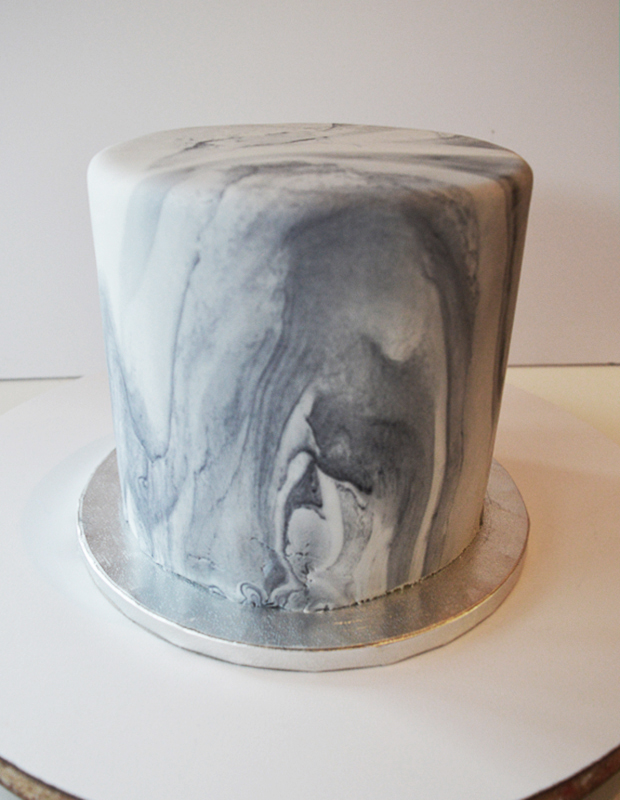
Once the fondant is smooth, trim the excess on the bottom with a knife. Use your hands to smooth the fondant over one more time. If you make a mistake or rip the fondant by accident, remember, it’s forgiving and you can easily patch it up.
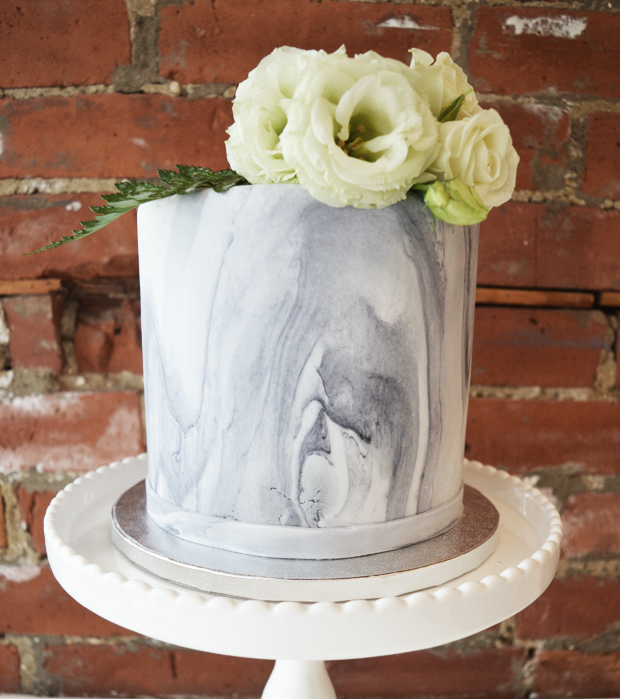
To garnish the cake with fresh flowers, gather your desired stems and cut them to about 4 inches. Bind them together with floral wire, then cover the wire with floral tape. Dig wire into the top of the cake in desired placement.

