


Advice From A Florist: 3 Fresh Holiday Bouquet Ideas






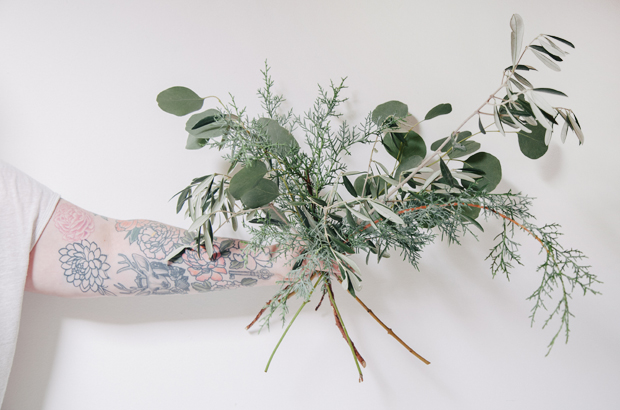

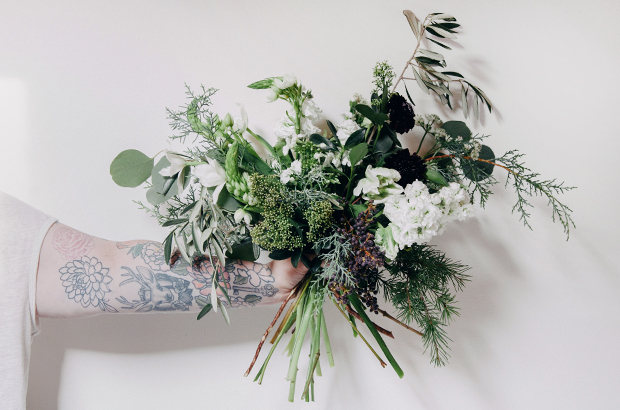


There are certain floral varieties that are synonymous with Christmas: poinsettias, snow berries and cedar sprigs, to name a few.
But florist, owner and creative director of Blush & Bloom and the newly opened Bloom School, Becky deOliveira, takes holiday florals in a completely new — and completely gorgeous — direction. Her fresh approach is sculptural, loose and incorporates all the classics you crave, but pairs them with something unexpected. The result is a standout bouquet that radiates the magic of the season without being too conventional.
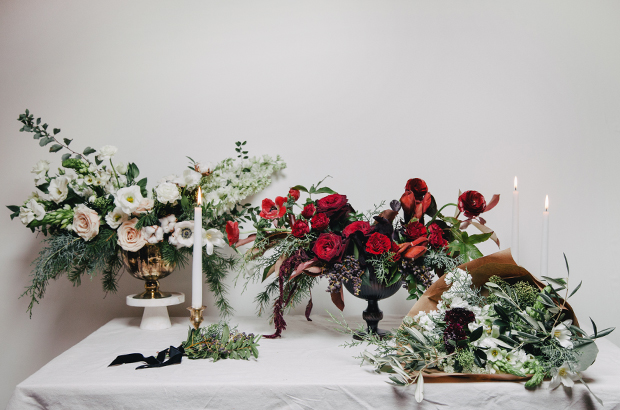
Click through for her three holiday bouquet ideas that offer an exciting take on the season’s archetypal florals — something Robust & Red, Winter White and Snowy Green — and step-by-step instructions on how to make each.

Robust & Red Bouquet: Materials
Gather the following florals and foliage, or varieties in similar shapes and colors (left to right): Maple leaves, ranunculus, amaryllis, cedar, anemone, spray roses, Ligustrum berry, roses, amaranth, Carolina sapphire foliage, smokebush leaves.
Other materials: shallow footed vase, floral shears and foam, chicken wire or florist’s tape.
Florist’s tip: Use at least three assorted foliage varieties for more texture and contrast.
Blush & Bloom

Robust & Red Bouquet: Step 1
Prep the vase with either foam, chicken wire or a grid from florists’ tape.
Blush & Bloom

Robust & Red Bouquet: Step 2
Add foliages to the form, creating the shape of the design. This base includes the maple leaves, cedar, Carolina sapphire foliage, smokebush leaves and Ligustrum berry.
Blush & Bloom

Robust & Red Bouquet: Step 3
Begin adding florals by variety, starting with the focal flower (usually the biggest or fanciest) and slowly adding in each of the other varieties.
Blush & Bloom

Robust & Red Bouquet: Step 4
Save the fancy delicates for the last part, along with finishing textural details, like the ranunculus, anemones and amaranth, etc.
Blush & Bloom

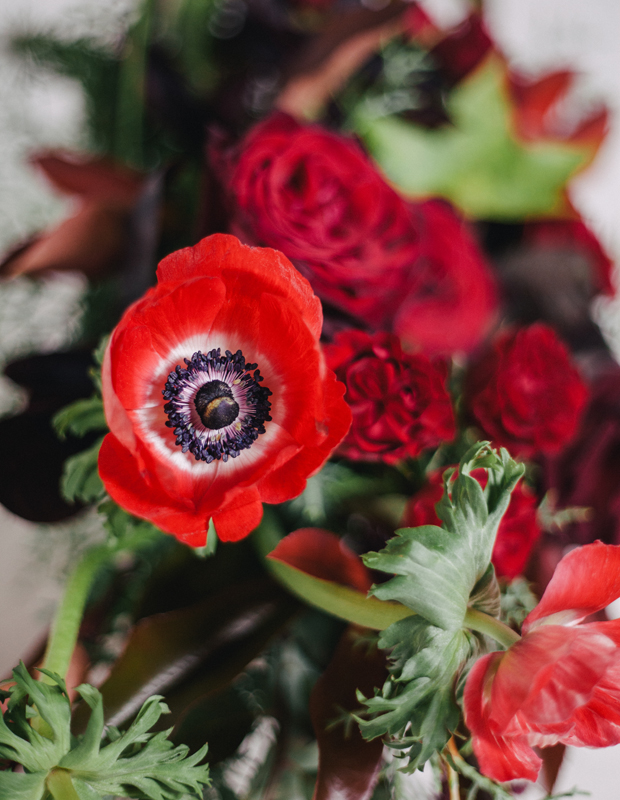
The Finished Robust & Red Bouquet
The result is a lush, red and green bouquet that looks festive, but not overly Christmassy.
Blush & Bloom

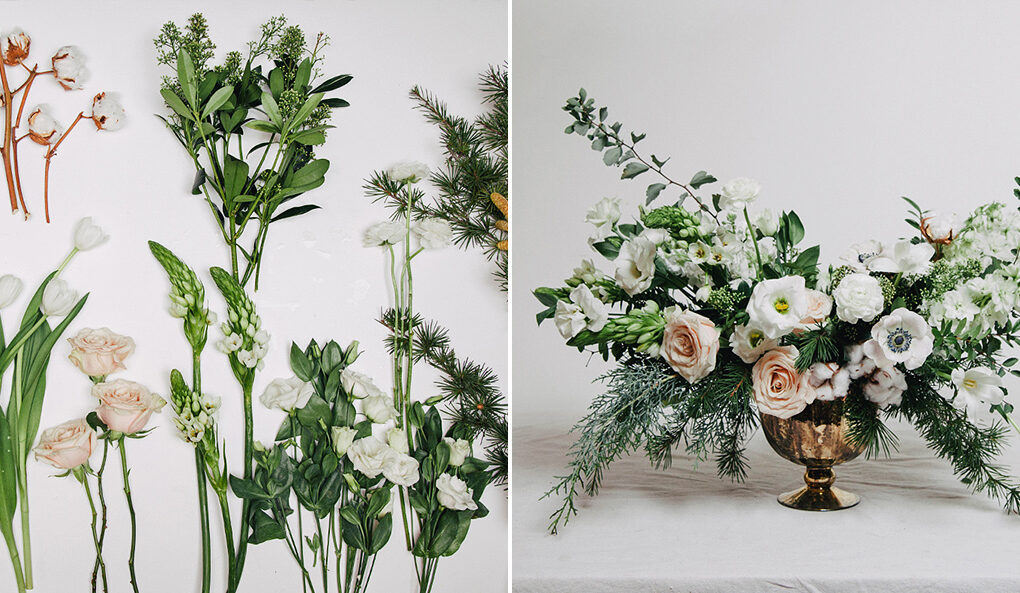
Winter White Bouquet: Materials
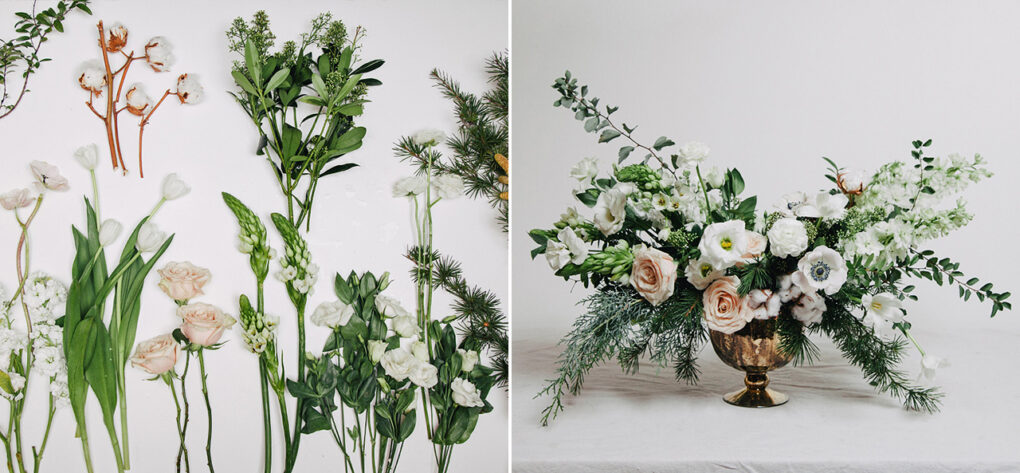
Gather the following florals and foliage, or varieties in similar shapes and colors (left to right): White delphinium, anemone, phlox, cotton, tulip, roses, ornithogalum, green skimmia, lisianthus, ranunculus, cedar, Carolina sapphire foliage (not shown), olive foliage (not shown).
Other materials: shallow footed vase, floral shears and foam, chicken wire or florist’s tape.
Blush & Bloom

Winter White Bouquet: Step 1
Prep the vase with either foam, chicken wire or a grid from florists’ tape. Add foliages to the form, creating the shape of the design. This base includes cedar, Carolina sapphire foliage and olive foliage.
Blush & Bloom

Winter White Bouquet: Step 2
Begin adding florals, starting with the long, loose varieties that tie in with the greenery, like delphinium and ornithogalum.
Blush & Bloom

Winter White Bouquet: Step 3
Save the fancy delicates for the last part, along with finishing textural details, like the roses, anemones, cotton and lisanthus.
Blush & Bloom

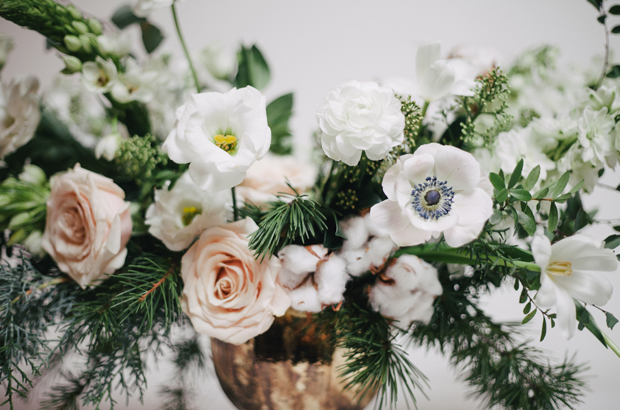
The Finished Winter White Bouquet
Cotton adds coziness to the crisp whites, while a hint of blush in the roses makes the bouquet feel decidedly pretty.
Blush & Bloom

Snowy Green Wrapped Bouquet: Materials
Gather the following florals and foliage, or varieties in similar shapes and colors (left to right): Penny eucalyptus, green skimmia, tulip, phlox, scabiosa, parrot tulip, ligustrum, orinthogalum, cedar, olive foliage, Carolina sapphire foliage (not shown).
Other materials: twine, kraft paper or wrapping paper of your choice, ribbon, floral shears.
Blush & Bloom

Snowy Green Wrapped Bouquet: Step 1
Start by creating a base of foliages by criscrossing the stems through your hands.
Blush & Bloom

Snowy Green Wrapped Bouquet: Step 2
Add a few florals at various heights, starting with the largest.
Blush & Bloom

Snowy Green Wrapped Bouquet: Step 3
Keep your grip loose, and add stems on an angle through the joining point you’ve created with your hands. Be sure to create negative space around each flower as you build through each variety.
Blush & Bloom

Snowy Green Wrapped Bouquet: Step 4
Wrap twine, wire or string around the stems, above where your hand is gripping the bouquet, multiple times. Make a knot and tie off.
Blush & Bloom

The Finished Snowy Green Bouquet
Once stems are tied and bouquet is bound, cut the stems of the bouquet with floral shears and add to water, or wrap in pretty paper and finish with a ribbon.
Blush & Bloom
- Photographer Brittany Deck, BKHPhoto