Decorating & Design

November 23, 2021

DIY: Treat Cones

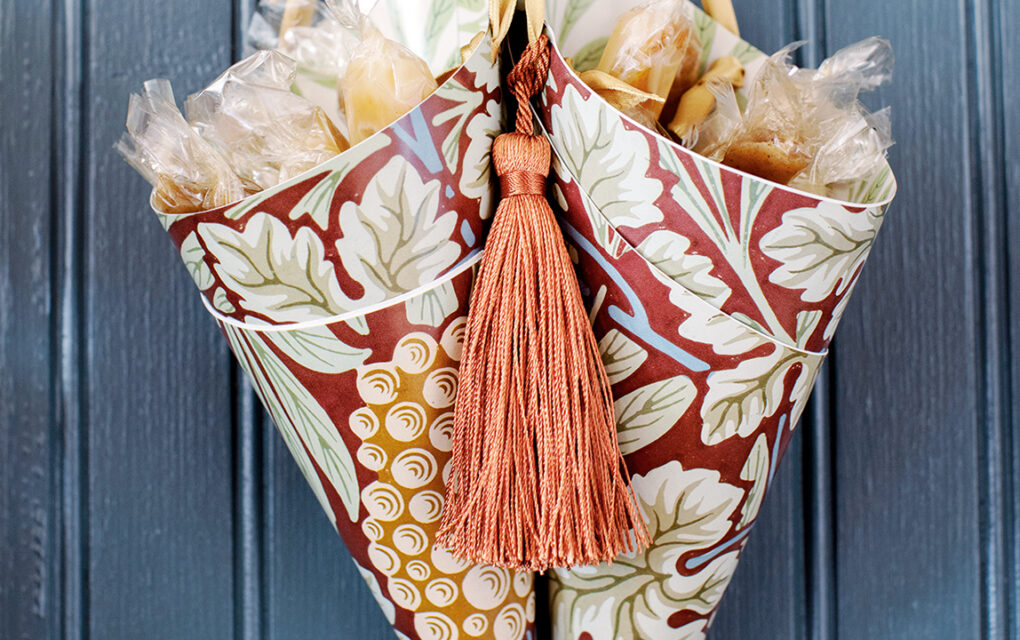
What you’ll need for the treat cones:

  • Two 12″ x 12″ pieces of paper such as cardstock, old calendars, wallpaper ends
  • Scissors
  • Glue
  • Narrow double-sided tape
  • Hole punch
  • Ribbon
  • Tassels
  • Treats

How-to:

  1. Cut two sheets of 12″ x 12″ paper on the diagonal and glue them together, back-to-back, to ensure both sides
    of the cone are pretty.
  2. Lay the paper on a table so the point of the triangle is at the top.
  3. Take the bottom right corner and curl it up and over until it lines up exactly with the top point of the triangle. This will indicate where to apply the double-sided tape on the “outside” of the cone.
  4. Apply a 4″ strip of tape and repeat the previous step, this time securing the paper to create the first half of the cone.
  5. Then, attach another strip of double-sided tape to the bottom part of the triangle on the “inside” of the cone, and roll
    the cone down onto the tape to complete the shape.
  6. Punch a hole on either side, attach a ribbon for hanging and top it off with a tassel.
  7. Fill with treats and hang on a door, back of a chair or from a peg.
Photographer:

Janis Nicolay

Source:

House & Home November 2021

Designer:

Emma Reddington and Jen Evans